When I was gifted a set of four Satsuma Street Halloween ornament kits a few years back, I jumped (ha!) on Hoppy Halloween, and followed it up with Eye Scream and Haunted Hearse. (The latter’s wordplay messes with my brain, and I can’t hear it without thinking, “Ermagerd, hernted [haunted] hearse!”) That left Fun Guy, whose only crime was being a skull. I like my Halloween cutesy, and anything that reminds me of dead bodies – blood and gore, skeletons, zombies – doesn’t do it for me. That old Disney cartoon with the skeletons scared the bejesus out of me as a kid.
And then, out of nowhere*, a Halloween tree appeared in the front room. A Halloween miracle! This was on par with the Great Pumpkin showing up, and I decided that Fun Guy should join his friends on it.
Despite my usual mumblings and grousings about working on black perforated paper, he came along nicely and before long was identifiable as a skull. Then, the mushrooms started filling in, and suddenly he was alive with colour.

If he looked fun (of course) once the stitching was done, the beads and sequins took him right over the edge.

I trimmed him to size, backed him with some black glittery felt, and added a shiny hanging loop.
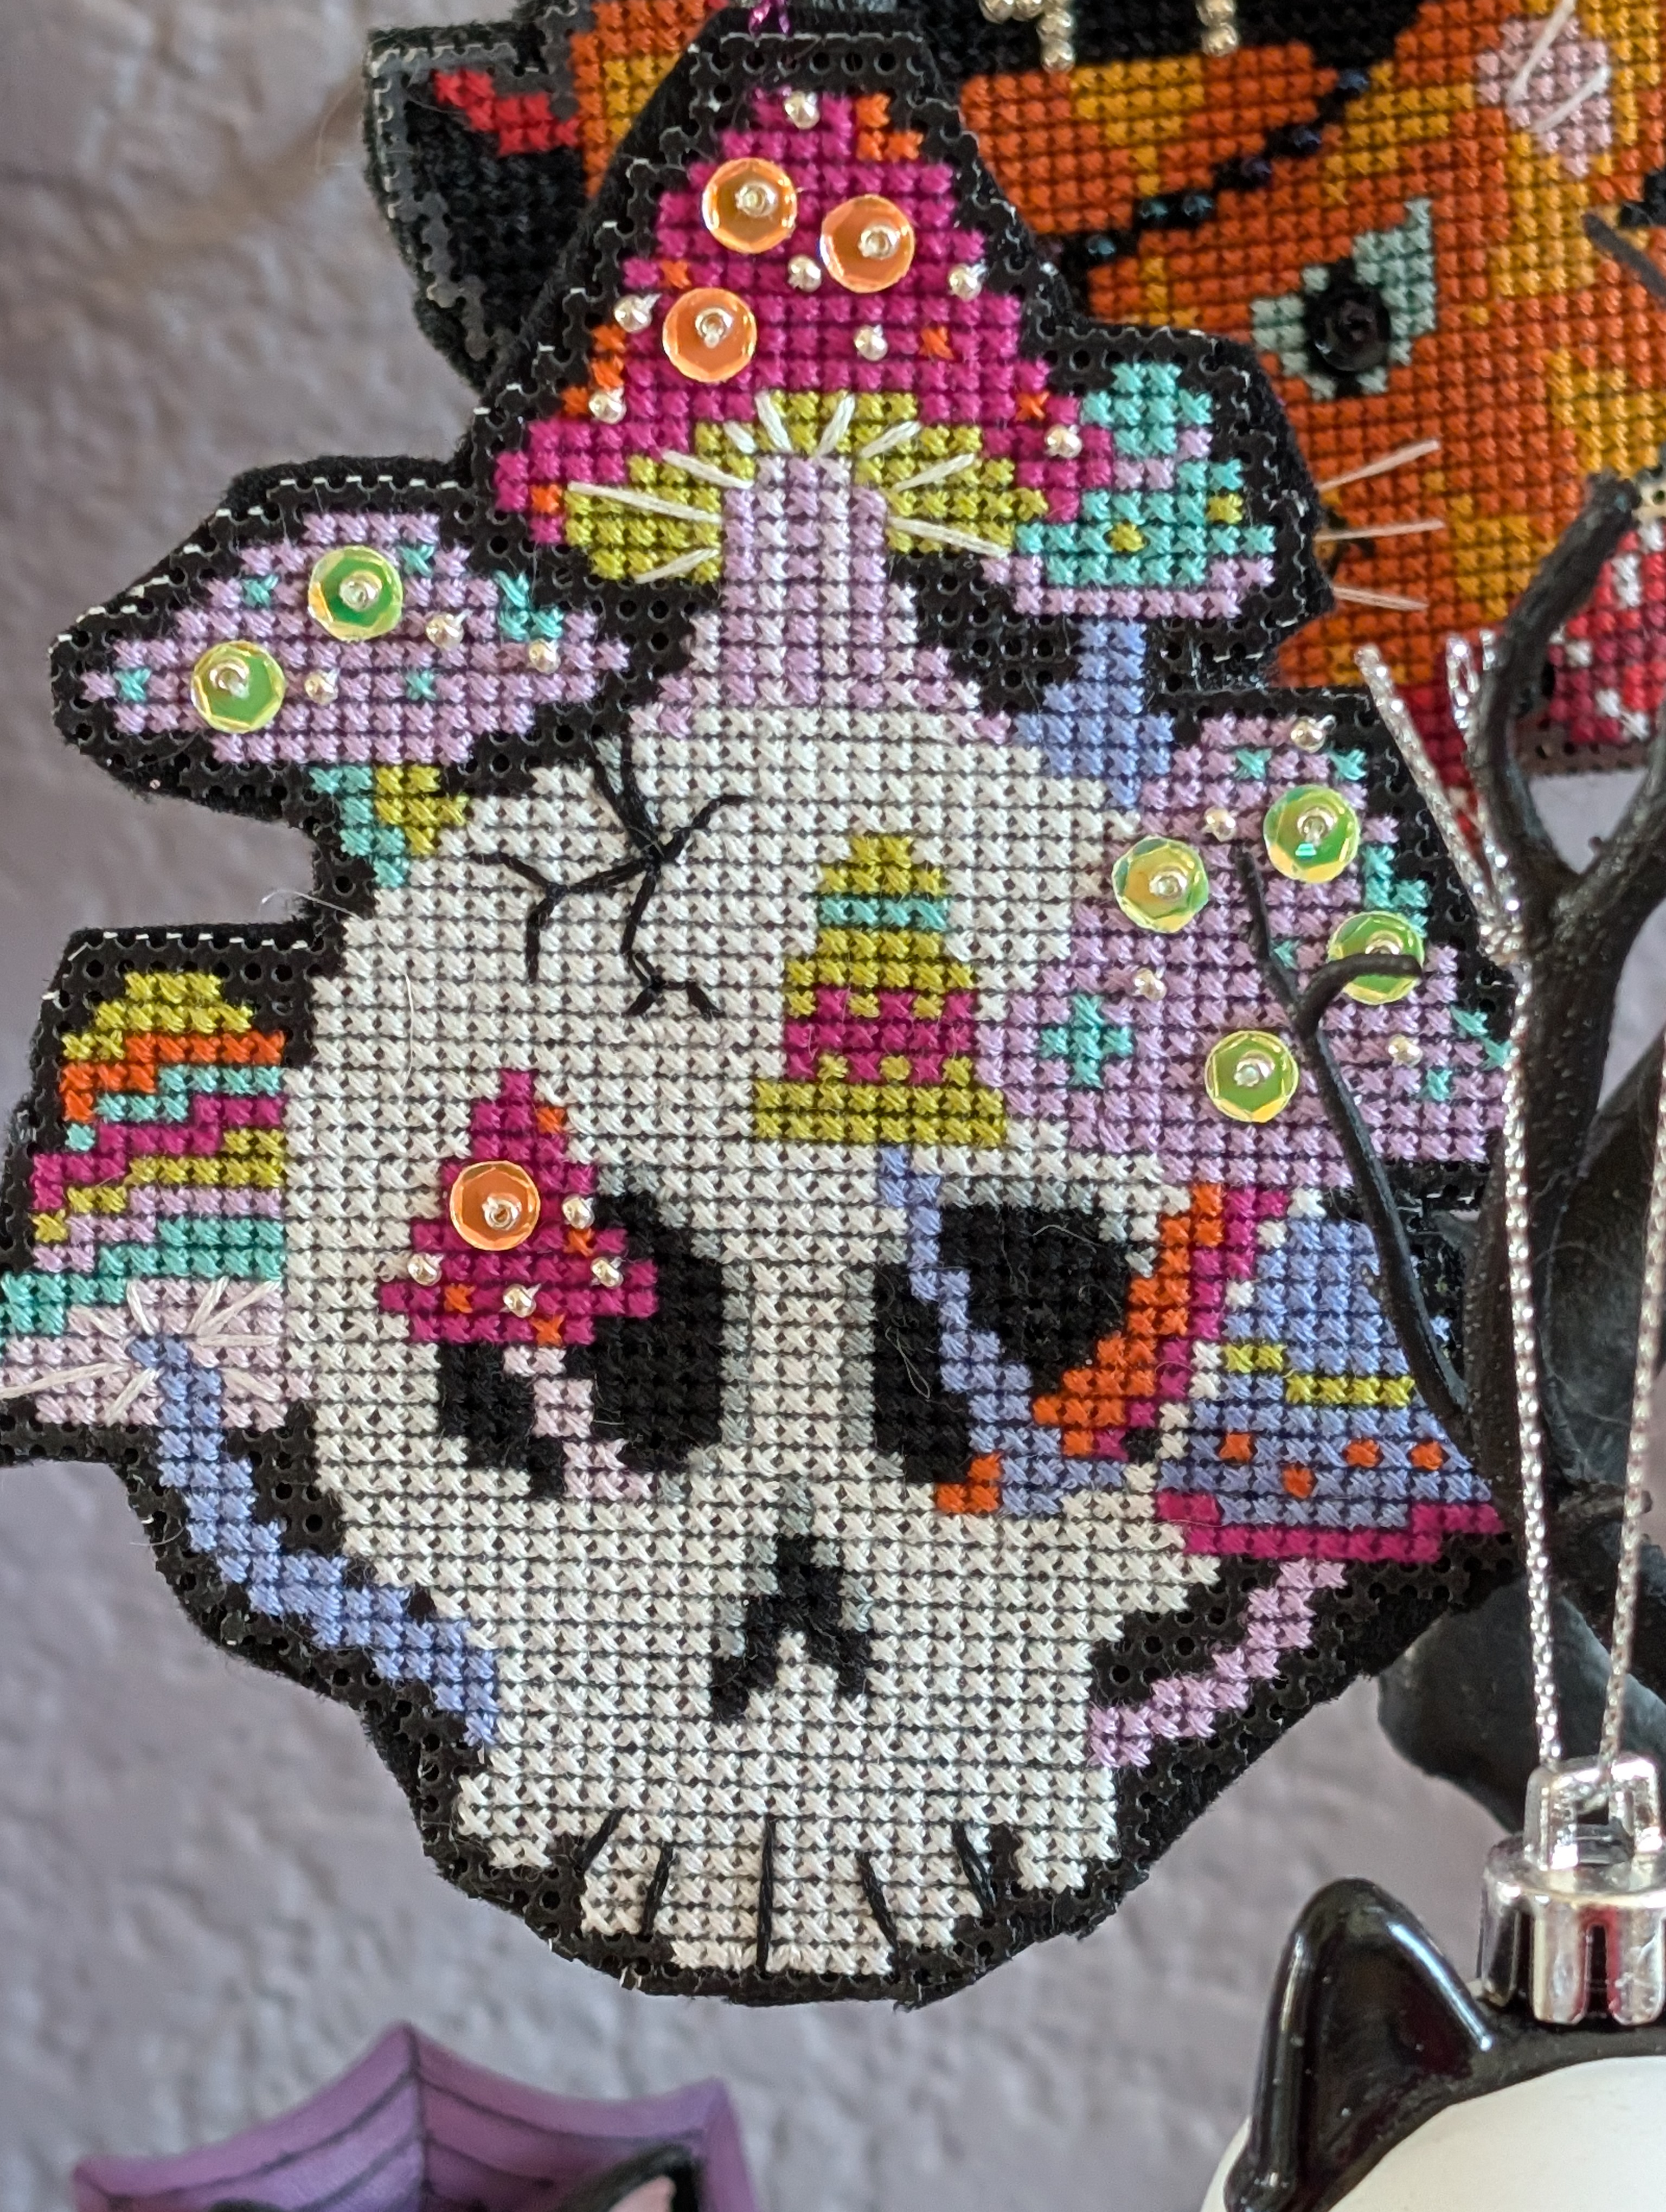
Isn’t he a great addition?

This is not the first of these ornament kits where I’ve run out of a given colour of floss (white, in this case) and had to raid my stash to finish off the design, but since this was the last of the kits I currently had, I’m not going to get upset about it.
Thanks for looking! 🙂
*She bought it at Michaels. – Ed.