…my true love gave to me: five gold rings.
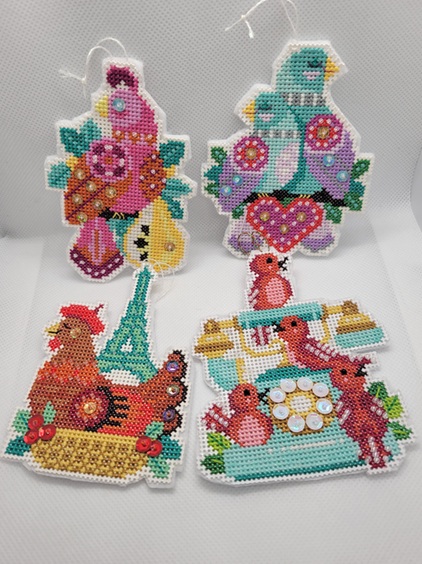
The song that inspired this series of posts (“The Twelve Days of Christmas”, not that you probably needed me to tell you that) has an awful lot of birds in it. That realization first hit me a few years ago, and I mused that if that was my true love’s idea of a super Christmas gift (or gifts), it might not be true love after all. The partridge in the pear tree? Yum, fruit. Two turtle doves? A symbol of love, so…OK. Three French hens? Ooh la la, mais…pourquoi? And calling birds sound like a disturber of sleep and not much else. Despite that, I love Satsuma Street’s whimsical take on them each year, but I’ll admit that although I’m not one for jewelry, I was looking forward to the five gold rings as a break from all the birds.
Well.
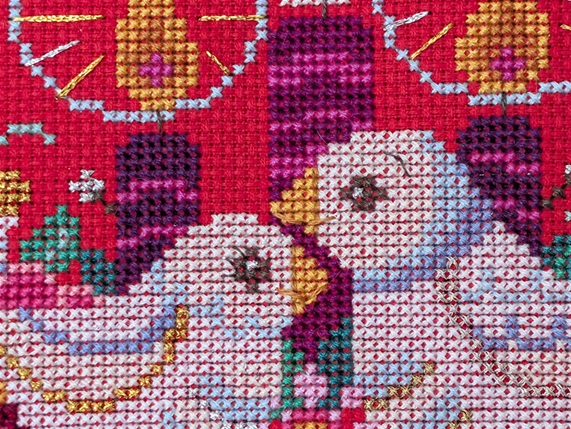
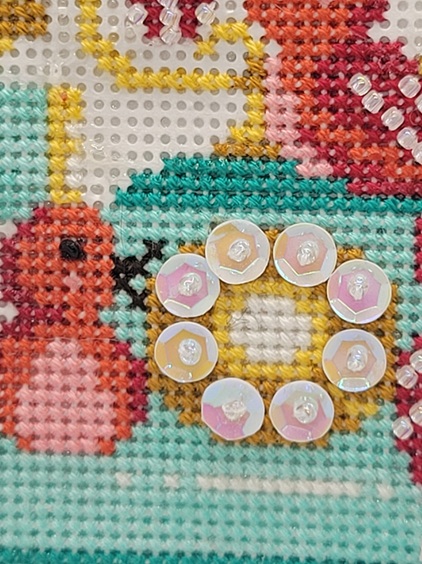
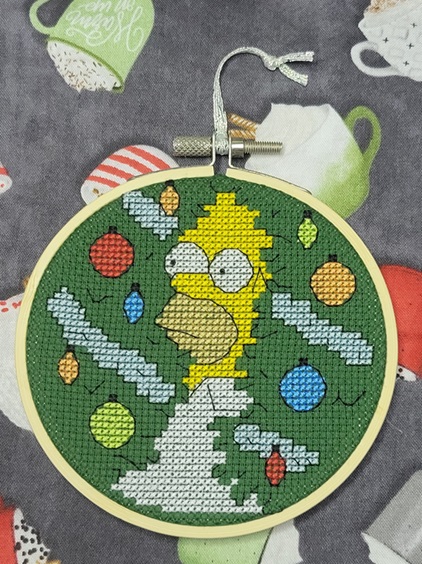
When the 2024 ornament designs were released, I couldn’t figure out why there was another bird. According to their website: Did you know the Five Gold Rings is actually about ring necked pheasants?
Reader, I did not.
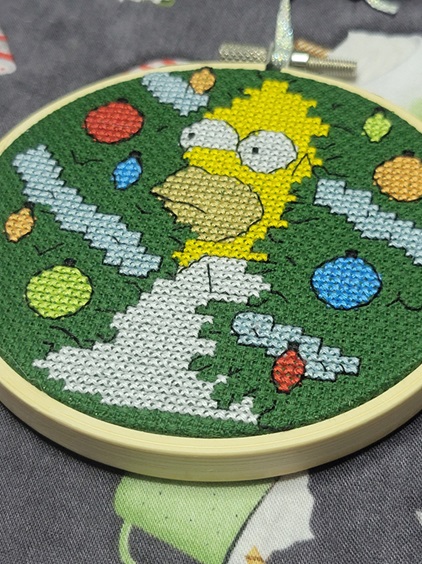
Despite my initial eye-rolling and sighing, I wasn’t about to stop the set halfway through. And…I like it. The design, not birds especially. The colours are lovely, and the gold beads really add something.

I’ve got it hanging with the others, and now just have to work my way through geese and swans before I finish my avian tour.
Thank you for looking – Merry Christmas! 🙂