…although it does sound just a bit cannibalistic, doesn’t it? (And yet: “Steak Diane” doesn’t bother me in the slightest.)
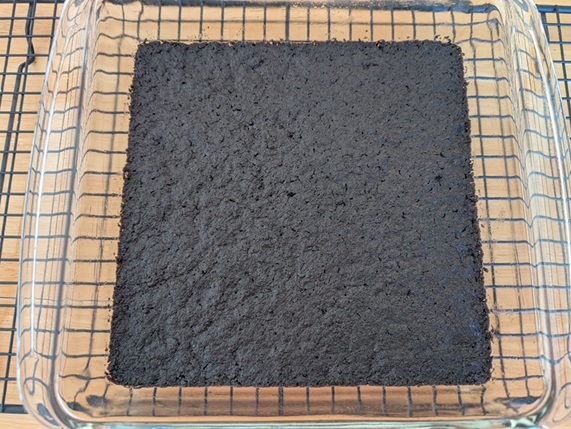
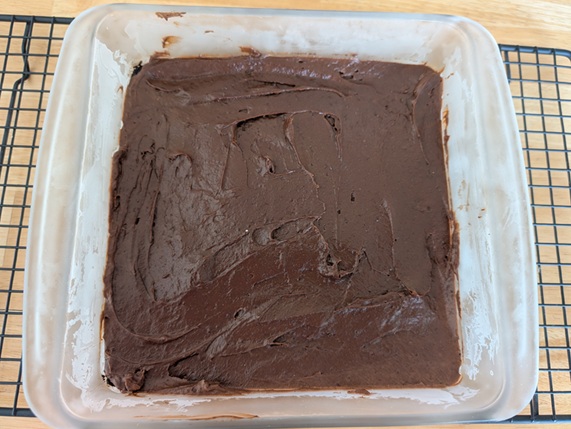
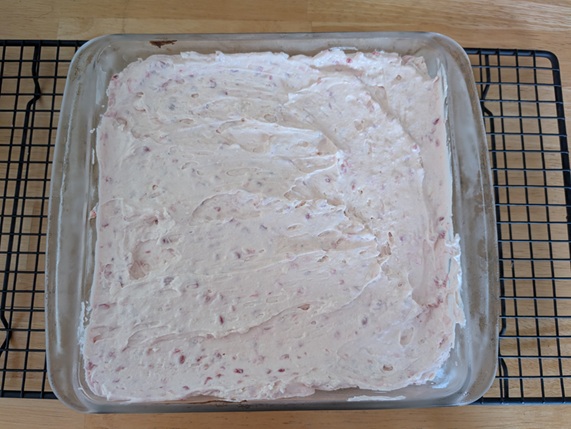
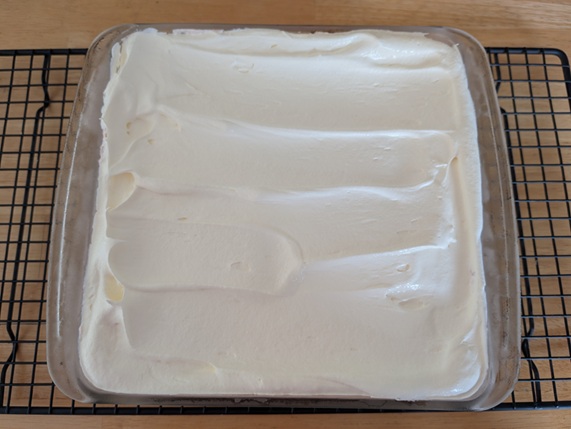
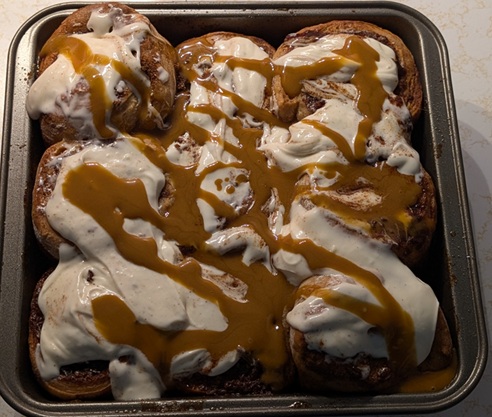
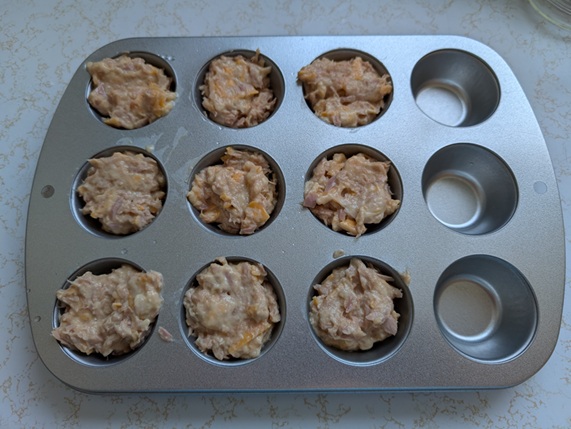
All right: long-time readers know the drill. No matter how many new and exciting recipes I try – which admittedly hasn’t been very many in recent years – I keep returning to the tried-and-true ones because those are the ones that everyone seems to like the most. This is how, for Father’s Day, I wound up baking dark chocolate cupcakes with peanut butter frosting. It’s a classic for a reason.
While cruising Pinterest one morning shortly before baking, I saw a fun decorating idea that shouldn’t have been too difficult to replicate. (Ironic foreshadowing alert!) The creator used Mike and Ike candies skewered on toothpicks that had been cut to size to create mini popsicles. Summery and fun, sure, but also, pop-sicles? How dad-joke appropriate!
While my cupcakes were baking, I grabbed my candies and a couple of toothpicks to experiment with length. Cutting the toothpicks right in half made them too long, and wildly disproportionate. On my second attempt, I managed to get the right length on one (unequal) half of my toothpick, and, satisfied, lined up the pointy ends to trim the other (unequal) half to match…
…and sliced those kitchen scissors right into the knuckle of my left index finger. This thing immediately bled like a stuck pig and required a hasty retreat to the bathroom to wash it out and bandage it. Nearly four weeks later, I still have a mark. Sheesh.
Efficient use of toothpicks be darned, I eventually shoved a single pick into each candy, and my backup baking buddy trimmed them to size once they were already in. I’m delighted to report that mine was the only injury suffered in this whole process.
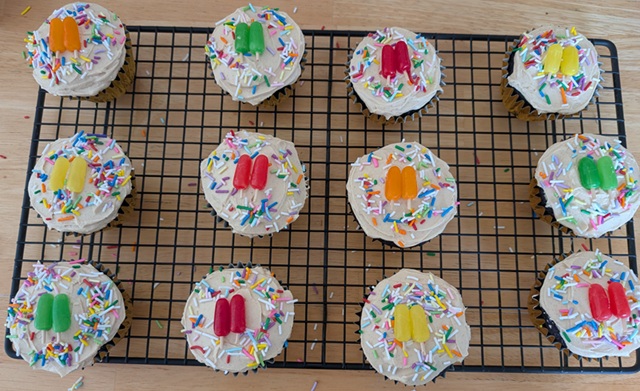
I added a few multicoloured sprinkles to keep the rest of the top from looking too stark.

For all the blood, sweat, and tears that went into making these, they turned out exactly as planned, and were a hit with the man of the hour.
Thanks for looking! 🙂