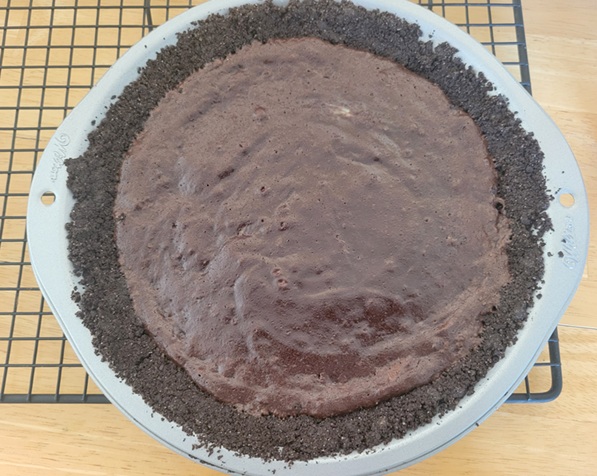
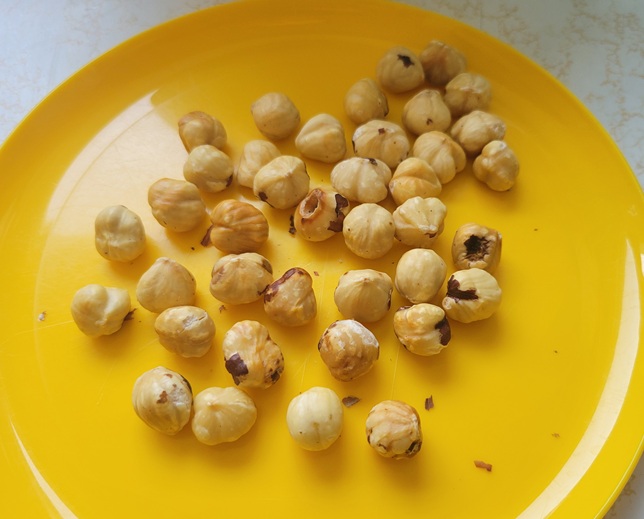
After getting in touch with my inner domestic goddess to make a triple-chocolate hazelnut pie for Mother’s Day last year, the gauntlet had been thrown down. How was I going to top that? I wanted a dessert that was ~fancier~ than I might normally bake “just because”, but ideally not too involved. I don’t ask for much.
I happened upon a recipe for raspberry and chocolate dessert lasagna, and although I was A-OK with the first few words, the last one weirded me out a bit. Was I expecting it to be savoury or something? Maybe involve layering chocolate sauce in between noodles (which, admittedly, are a pretty neutral base on their own)? Once I read it though, I knew I had found my dessert.
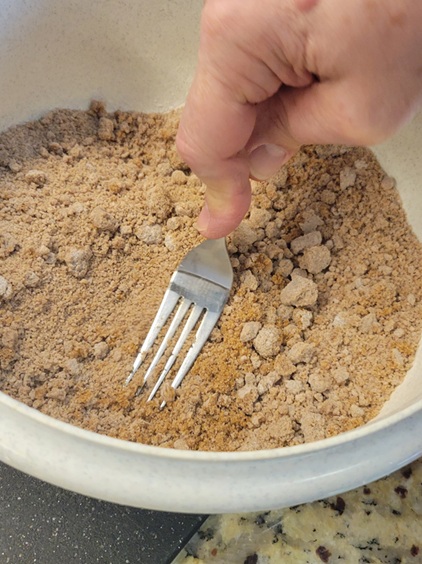
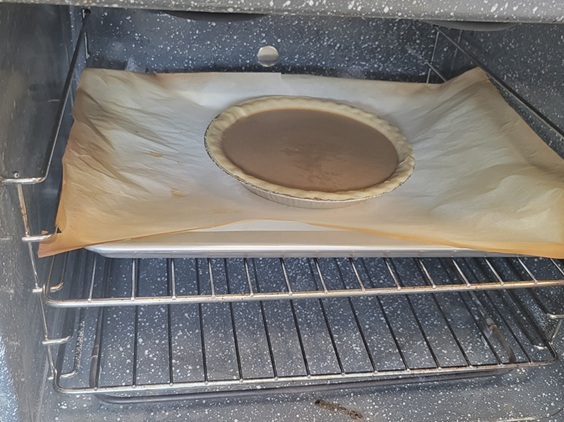
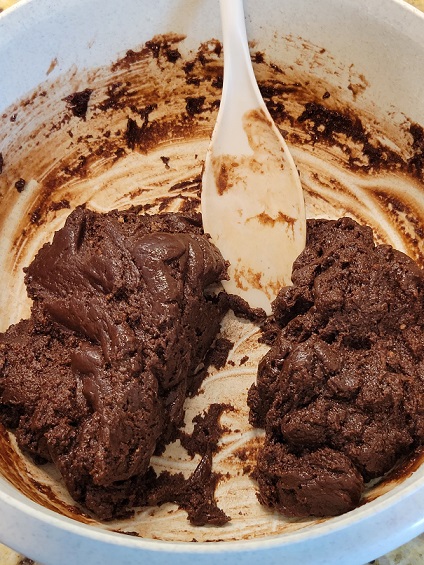
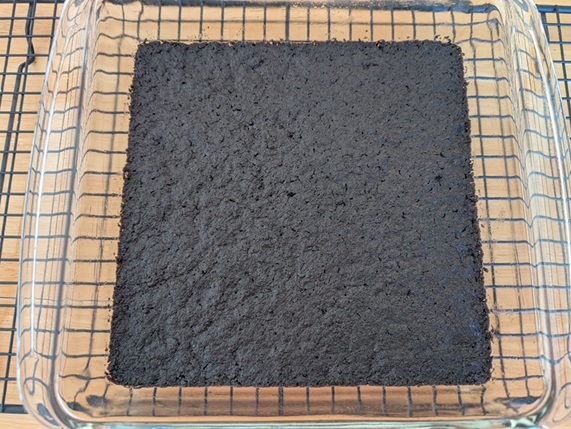
It starts, as so many good things do, with a chocolate crumb base. The recipe called for taking a bunch of Oreos, removing the filling, and crumbling the cookies. I opted for…wait for it…chocolate baking crumbs from the store, because really. The recipe also recommended mixing the desecrated Oreos with melted butter before patting it into the pan and freezing it to set; I mixed my wholesome crumbs with the butter and then baked it at 350 for ten minutes. Yes, it’s supposed to be a no-bake recipe, but that bit of heat really makes a difference in the crust.
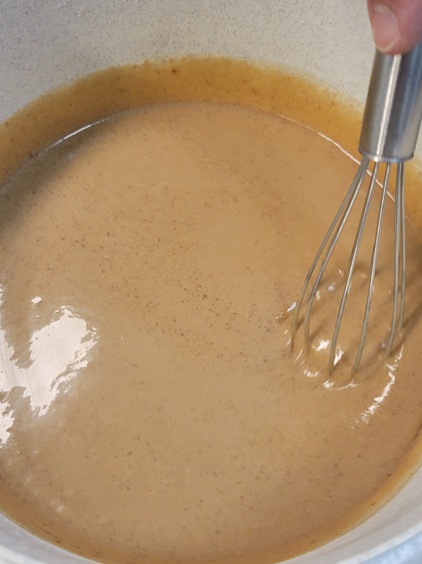
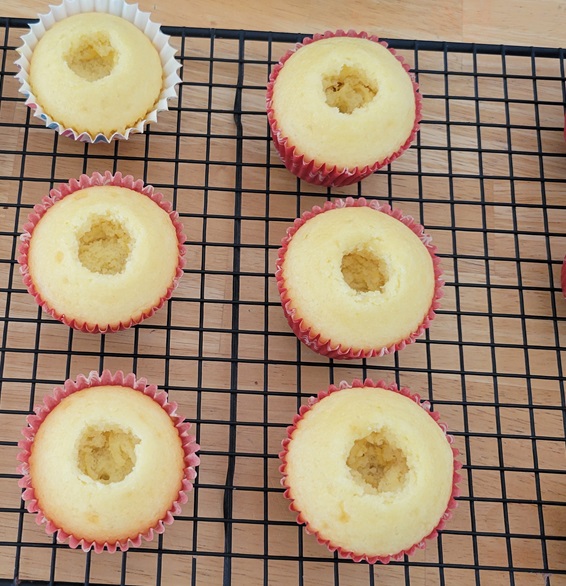
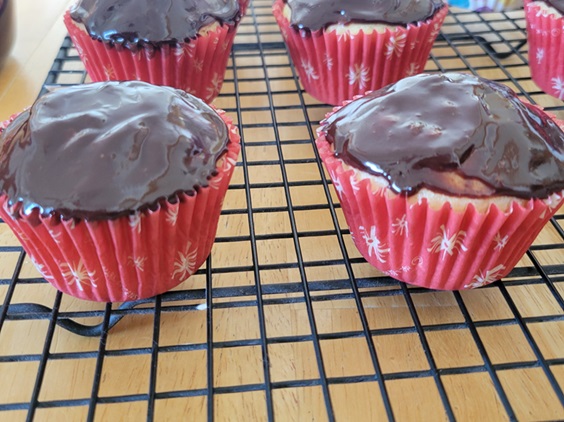
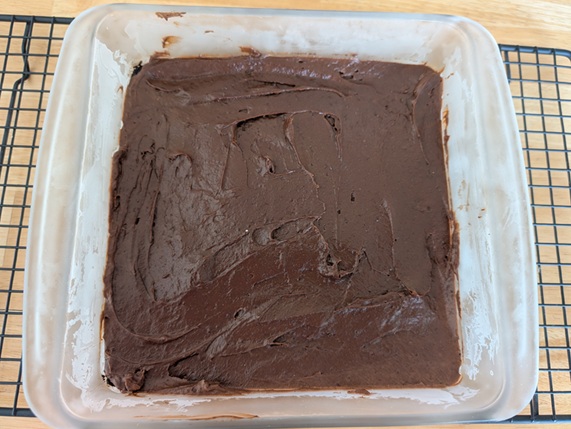
Once that had a chance to cool down, it was time for the pudding layer. This was hardly rocket science: it employed one of my favourite tricks, preparing a box of instant pudding with half the milk normally called for. I’ve done that as a cupcake filling before, and it works really well!
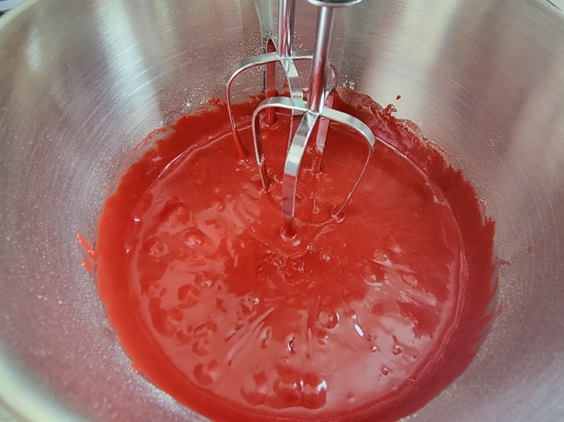
Next came the mousse (or “mousse”, if you’re a purist, which I may not be). A brick of cream cheese is blended thoroughly with some sugar, milk, and vanilla; to this, a half-cup of raspberries is added and the whole thing is blended some more to break down the berries. Then, one cup of thawed frozen whipped topping (how Cool!) is gently folded in. This might not be traditional mousse, but it’s light and tasty and wouldn’t be out of its element simply spooned into dessert cups as a standalone.
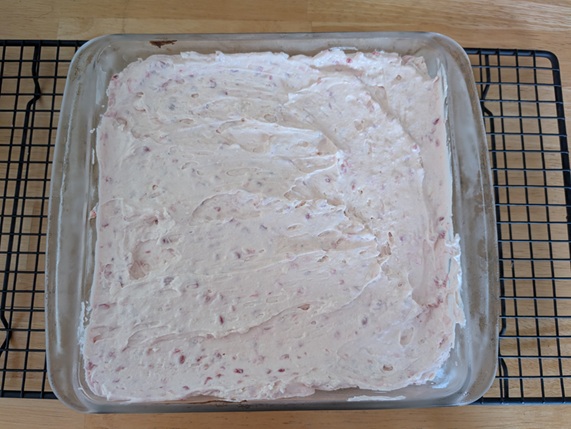
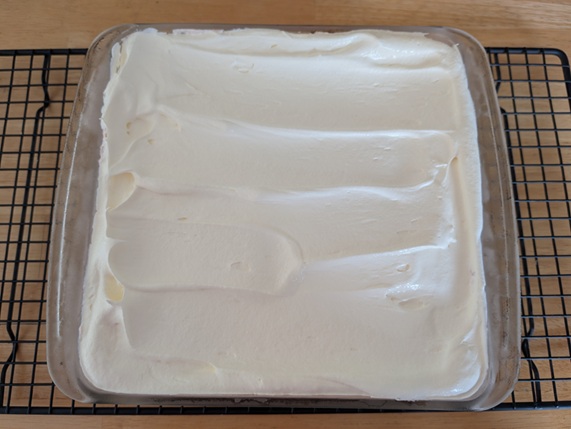
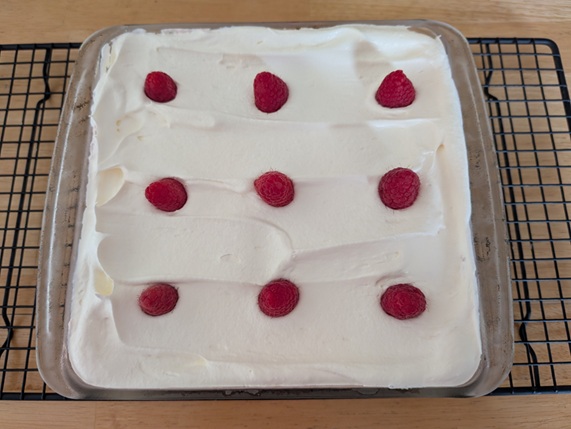
Finally, the rest of the thawed frozen whipped topping gets spread on top. I had some raspberries left over, so I used them for garnish and to provide a visual guide for cutting later on.
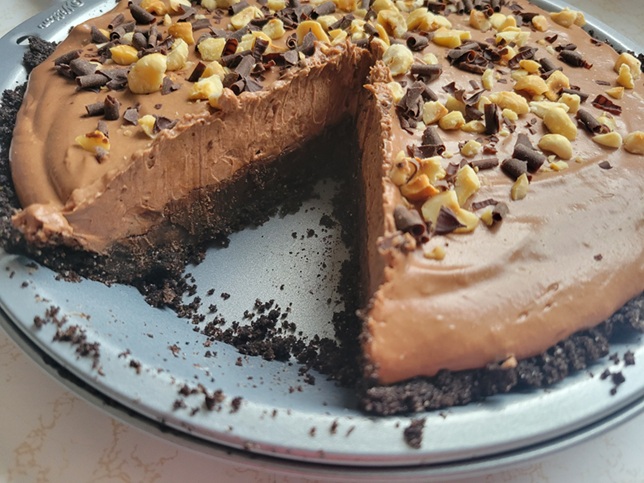
I set the whole shebang in the fridge to chill for at least four hours, and it cut like a dream!
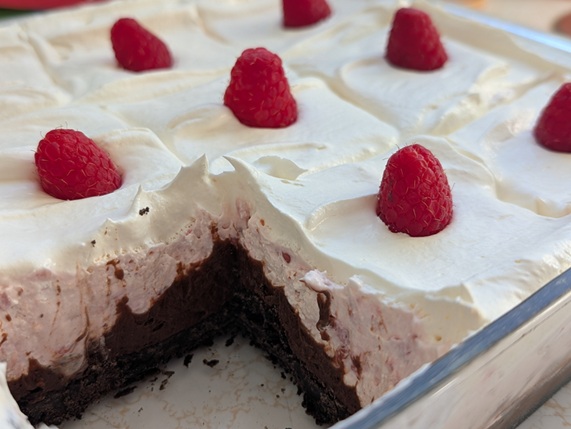
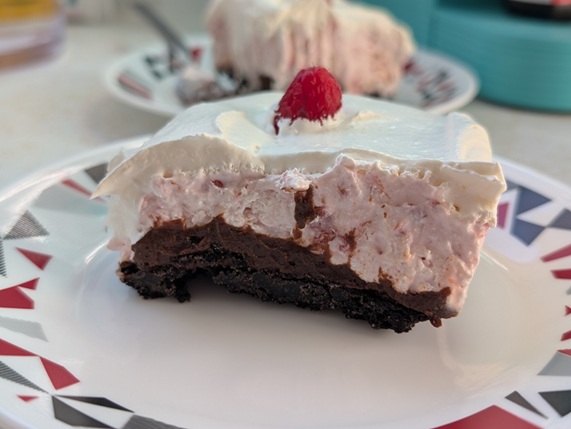
The pretty pink filling and double hit of chocolate would make this a great Valentine’s Day dessert, too – but it was a big hit for Mother’s Day. It’s not too rich, but is the perfect light finish to a meal. And definitely way tastier than anything with the name “dessert lasagna” should be.
Thanks for looking! 🙂