baking

Just like Grandma used to make…

I’m not kidding, guys. The bake I’m sharing today is my grandmother’s recipe. I can’t share the actual recipe here under penalty of haunting, but here’s one that’s relatively similar. Just, you know, not as good (of course). 😉

These were the sugar cookies I remember growing up, and they’re different than most. I was…pretty old…before I realized that when most people say “sugar cookie” they mean some weird, buttery cutouts decorated to the nines with icing that’s very pretty but makes my teeth hurt to look at it. The cookies I knew used Crisco, giving them a beautiful, neutral flavour; they were sprinkled with coloured sugar before baking, giving them a pleasing crunch. They’re never too sweet, but sparkle prettily on a plate. When I was a kid, my mom used to get out her shaped cookie cutters at Christmas and enlist her helpers to sprinkle sugar in artistic and realistic designs – but when I got older, I learned they taste just as good cut out in plain circles with a little red-white-green sugar on top for colour.

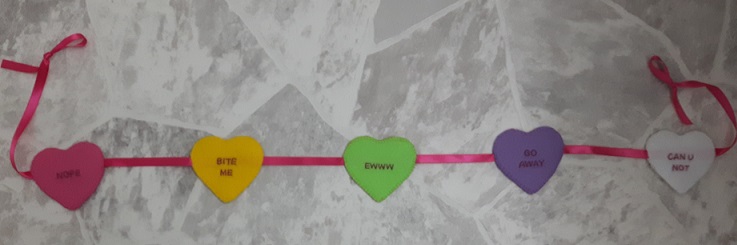
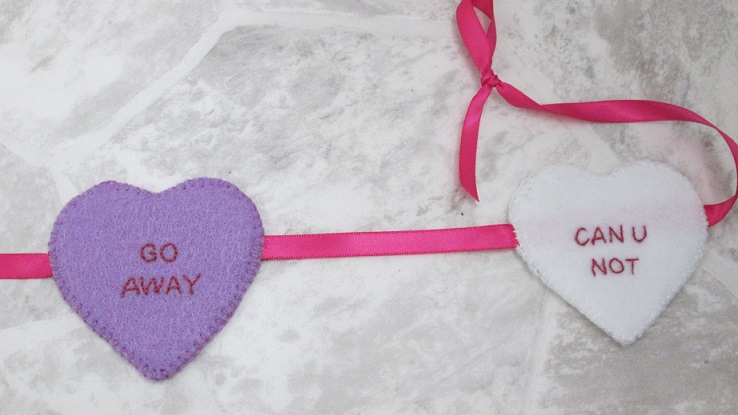
With Valentine’s Day fast approaching, I got the idea to cut them out into heart shapes and use a variety of coloured sugars to try and recreate a conversation heart aesthetic. If you’ve been with me for a while, you’ll know that I’ve got a bit of a thing for conversation hearts.

And look at them, sparkling prettily!

The big cookie cutter was bigger than I realized, so I soon switched to an antique one (with a wooden handle and all!) to churn out some smaller cookies.

“But wait!” I hear you say, “What’s conversational about these?”

I did prepare a batch of bright-pink royal icing, ready to pipe all sorts of sweet and snarky sentiments, but…it wasn’t to be. I used a recipe from a pretty well-known baking blogger, and although it came together perfectly – and stiffly – in the bowl, it was a mess on the cookies. It might be OK for flooding the entire surface with icing, but not for detailed work. Would I use that recipe again?

About the only positive thing I can say, besides the fact that it dried glossy and gorgeous just like the recipe said, is that it might be handy for people who are bashful about declaring their feelings and don’t want to put themselves out there too much:

“‘Be mine’? No, that says, uh, ‘Mr. Mint’.”

So while I did not wind up with my bevy of conversation hearts, I did wind up with a really delicious batch of sugar cookies to show for it, which is a victory in my books.

Thanks for looking – Happy Valentine’s Day!

Other Crafts

Don’t Go Breaking My Heart

Actually, in this case, you don’t need to! There’s a handy pull string to reduce your smashing by 100%.

I had seen these mini pinatas ages ago on the dearly departed Craftster, and saved the tutorial for myself despite being an asocial and unromantic weirdo. I managed to find the original tutorial using the Wayback Machine, but also took my own step-by-step pictures in case that ever ceases to be.

To start with, you’ll need to cut out two hearts from cardstock or posterboard. Mine are just a hair over 8″ across because I was using letter-sized cardstock, but you’re limited only by your imagination and raw materials. You’ll also need a “side strip/strips” whose width will dictate how deep your pinata is (and how much you can stuff inside it). I cut three 2.5″ wide x 11″ long strips from another sheet of cardstock, but only wound up using two of them.

Once I taped my two strips together, I could start attaching them to my first heart. I ran pieces of masking tape along one edge of my new double-long strip and then starting curving it along the edge of my heart and taping it down. Your edge will – nay, should – be shorter than the full circumference of your heart; that gap is where you’ll add your candy.

Here’s one spot where I deviated from the original tutorial: while I only had one heart attached to the edge, I poked a couple of holes in the edge and added a hanging loop, in case the recipient wants to display it.

Once I was satisfied a) with the size of my candy door, and b) that my hanging loop was secure and I wouldn’t need to access the inside of the pinata, I added my second heart and secured it to my edge with even more masking tape.

Now the raison d’être: add your candy. If you want this to be hung/displayed for a while, you may want to be mindful of the weight of whatever you’re putting in.

Remember when I said I wouldn’t need to access the inside of the pinata anymore? I lied, kind of. Once the candy is in, you can cover the opening with a folded-up piece of tissue paper, but to add a pull string you’ll need to affix that to the inside of the pinata above the opening, then tape it to the underside of the tissue. It’s a bit fiddly, and if I do one of these again I might attach it before I add my second heart, just to save fumbling around after. Make that pull string good and long so that your recipient has something to grab onto!

And now…you get to decorate! This was less annoying than I thought it would be. The girl who wrote the original tutorial used shredder scissors to fringe her tissue paper, but I did it old-school with normal scissors, and managed to not completely cramp up my hand.

I decided to go for a quasi-ombré look, and overlapped rows of tissue to keep it looking full and fluffy.

Once I got the heart faces done, I cut short pieces of my fringed tissue to do the sides. I used your garden-variety glue stick for this, and it was shockingly neat: no gluey residue, and practically zero dry time.

Finally seeing the light of day! Once my tissue-papering was done, I made a little instructional tag for my pull string, just in case there were any doubts as to what to do.

This didn’t take me too long, overall – a couple of episodes of Lolita Podcast – but just long enough to serve as a good reason to not be polyamourous.

Thanks for looking…happy Valentine’s Day!

Cross-stitch and Embroidery, Other Crafts

Snarky Ways to Leave Your Lover

(with apologies to Paul Simon)

“Your problem is trying to be too nice,” she said to me.

“You’ll find it easier if you’ll only be snarky.

It’s just the simplest way to get yourself set free –

Just use snarky ways to leave your lover.”

She said, “Some people think that ‘snarky’ equals ‘rude’.

In fact, some puritans would have it labelled ‘lewd’.

But nuts to them!  I say, who needs their attitude?

Embrace those snarky ways to leave your lover.”

CHORUS

Just tell him, “Nope, dope.”

“Can you not, Scott?”

“Would you go away, hey,

And let me be.”

I said, “No way, Jay!”

“OMG, ewww, Lou.”

What else can I say, hey,

Except for, “Bite me.”

She said, “Don’t let your conscience tell you that it’s wrong.

I hope you’ll see the light before I end this song.”

I said, “That’s great and all, but won’t it take too long

To learn these snarky ways…?”

She said, “Just try to find your inner snark tonight,

And I believe that your man-child will be gone without a fight.”

And then she left me, and I realized she probably was right

‘Bout using snarky ways to leave your lover.

(repeat CHORUS)

Soooo, I signed up for the Be My Snarky Valentine swap on Craftster, after having to sit out the Christmas edition due to having about a dozen other things to try to get done.  But all I really have to do on Valentine’s Day is show up to work (because it’s a weekday, not because I work in a Valentine-specific industry), so I figured I could swing this one.  We each had to craft one small, snarky item plus one snarky card for our partner.

While I typically find Valentine’s Day a bit annoying (and hence the appeal of a snarky swap), I’ve always liked the aesthetic of conversation hearts.  Heck, I don’t even mind eating them, although they tend toward chalky.  I’ve even been known to paint my nails in the same colours and stage ridiculous manicure shoots at my desk:

20160208_095417

(Seriously, what did we do before smartphones?  How did we document the inanity?)

So it seemed like a no-brainer for me to incorporate them into my snarky swap package, somehow.  Fortunately, my partner said she likes pastels, so I thought a mini felt garland might be in order.

Garland 2-2

Each heart is about 3 inches across at the widest points – I didn’t think to measure them – and are spaced 4 inches apart, with 6 inches to the hanging loop on each side.  I cut out two hearts of each colour and then applied fusible interfacing to one before sketching on my snarky sentiments to embroider.  Once they all said something, I sandwiched the ribbon between the two hearts, and blanket-stitched around each heart to secure the ribbon in place.

IMG_1065-2

IMG_1066-2

IMG_1067-2

I’m also a little particular about the colours being in the proper spectrum order, or at least as close as you can get.

Because I’m a cross-stitcher at heart, that’s the approach I used for my card.

Garland 1-2

I had some sparkly white Aida left over from my mom’s cat ornaments which was just perfect for my background.

Whatever your Valentine’s Day brings, I hope it’s better than Ralph’s. 🙂