baking

Cross my heart and hope to die, here’s the digits that make pi…

3.14159265358979323846…. (see here)

Happy Pi Day! (Pie Day?) Although I have made pie before, with reasonable success, it’s not my first choice of things to make. My pastry is okay (my mom’s is a million times better), and I honestly find it a bit fussy, with the cutting-in of butter/Tenderflake, the keeping it cold, the not overworking… Someone else can do the baking, thanks; I’m happy to just be a taste-tester.

I was inspired partly, I admit, by Lara Jean’s turnovers in To All the Boys: P.S. I Still Love You – yay for Netflix original movies! – but thought this seemed like a good time to find a way to slake those pie cravings without getting up to my elbows in flour. And if they were individually portioned, that would be great, too.

Did someone say hand pies?

Presenting…pie in less than an hour.

Start with your base ingredients:

This is it, plus an egg and some white sugar. That’s all. So far, so good, right?

Start with one of the two crusts in your box. They come round, to fit into a pie pan, so we squared out the corners as best we could. Hey, this was for home consumption, and appearance wasn’t going to count for too much. Score your dough into eights – a 4 x 2 arrangement. Half of these are going to be your bottom crusts, and the other half will be your top crusts. Try to pair the funny-shaped ones together. Heck, if your cutting is more precise than ours was, you should have mirror-image pieces for easy pairing.

Arrange on a parchment-lined baking sheet. We used smaller sheets, so four felt like an adequate number to make at a time. We got four complete pies from each dough round, for a total of eight.

Spoon your filling into the centre of each bottom crust, and brush the edges with an egg wash (really just one beaten egg) so that the tops will stick. I hate to be the bearer of retroactive bad news, but that’s way too much filling you’re seeing. Use less than we did. It’s tempting to fill them to the gills, but don’t. You’ll want a nice wide border along the edge for your top to stick to, no matter how delicious you think cherries are.

Speaking of your tops: perforate them with a common dinner fork, and set each one on its corresponding bottom. Use your fork to press the edges together, crimping them as you go along. See that ooze along the sides? Like I said, use less filling. Learn from my mistakes. Oy. Once your edges are all crimped, brush them with some egg wash and sprinkle with a bit of white sugar, if desired. Coarse sugar would be an excellent substitute, if you like a little bit of extra crunch. We baked ours at 375° for 17 minutes, but time and temperature could vary depending on whether your oven runs hot or cool. We had set the timer for 20 minutes initially, but pulled them out early…

…and had these to show for it. The murder-scene cherry ooze would have bothered me if I were trying to impress a VIP, but for home consumption, it wasn’t an issue. (And anyway, once they cooled, any excess ooze stayed on the parchment.) The tops look a little thin and delicate, likely from the dough being rolled thinner than was prudent, but the taste wasn’t impacted.

These are kind of the culinary equivalent of rounding pi down to 3, but if you’re craving pi…er, pie…they’ll do the trick.

Thanks for looking! 🙂

craftmas, Cross-stitch and Embroidery

On the second day of Craftmas…

…my true love gave to me: a Minion from Despicable Me!

Oooh, this was a fun project!  I love those projects that give me a chance to create something I would normally never make otherwise.  (But which I still want to make, obviously.)  One of my nearest and dearest is a Minions fan despite having several decades on their target age group.  I used to roll my eyes at him, but have gradually come around and warmed up to them – when I found the Minions patterns by Let’s Make Crafts on Etsy, I knew I had found his Christmas present!

img_0840_1

I’m so happy with how this turned out!  It was a “larger” small project (if that makes sense), but uses only whole stitches, a handful of colours, and just the tiniest bit of backstitch to really bring out the details.

***A NOTE ABOUT THE IMPORTANCE OF BACKSTITCH***

I know a lot of stitchers moan about backstitch.  “It’s boring.”  “It takes too long.”  And while I know how it feels to put in that very…last…stitch, only to realize you now have to go over the entire piece again to add the backstitch, it really does make all the difference.  Stuart, up there, only has a bit of backstitch, for his hair and for the strings on his guitar.  No big deal, right?

img_0827

Without it, he looks like Telly freakin’ Savalas.  Who loves ya, baby, indeed!  Seriously, kids, take the time to add your backstitching.

***THIS HAS BEEN A PUBLIC SERVICE ANNOUNCEMENT***

Now that he’s got…hair…and guitar strings, I’m really excited for the big unveiling at Christmas.  Good thing I found Minions wrapping paper at Dollarama.  Only one more week to go…

Thanks for looking!   🙂

craftmas, Cross-stitch and Embroidery

On the first day of Craftmas…

…my true love gave to me: a hoop that says, “Heeeeere’s Johnny!”

Can you believe it’s that time of year again?  And that I was insane enough to attempt Craftmas yet again?  Okay, it’s not as bad as all that: I did do a bit of planning this year and started my stitching early, but there are still a few projects that are freaking me the heck out right about now.  Why aren’t they finished yet?  Stay tuned, kids; this is going to be a wild, crafty ride.

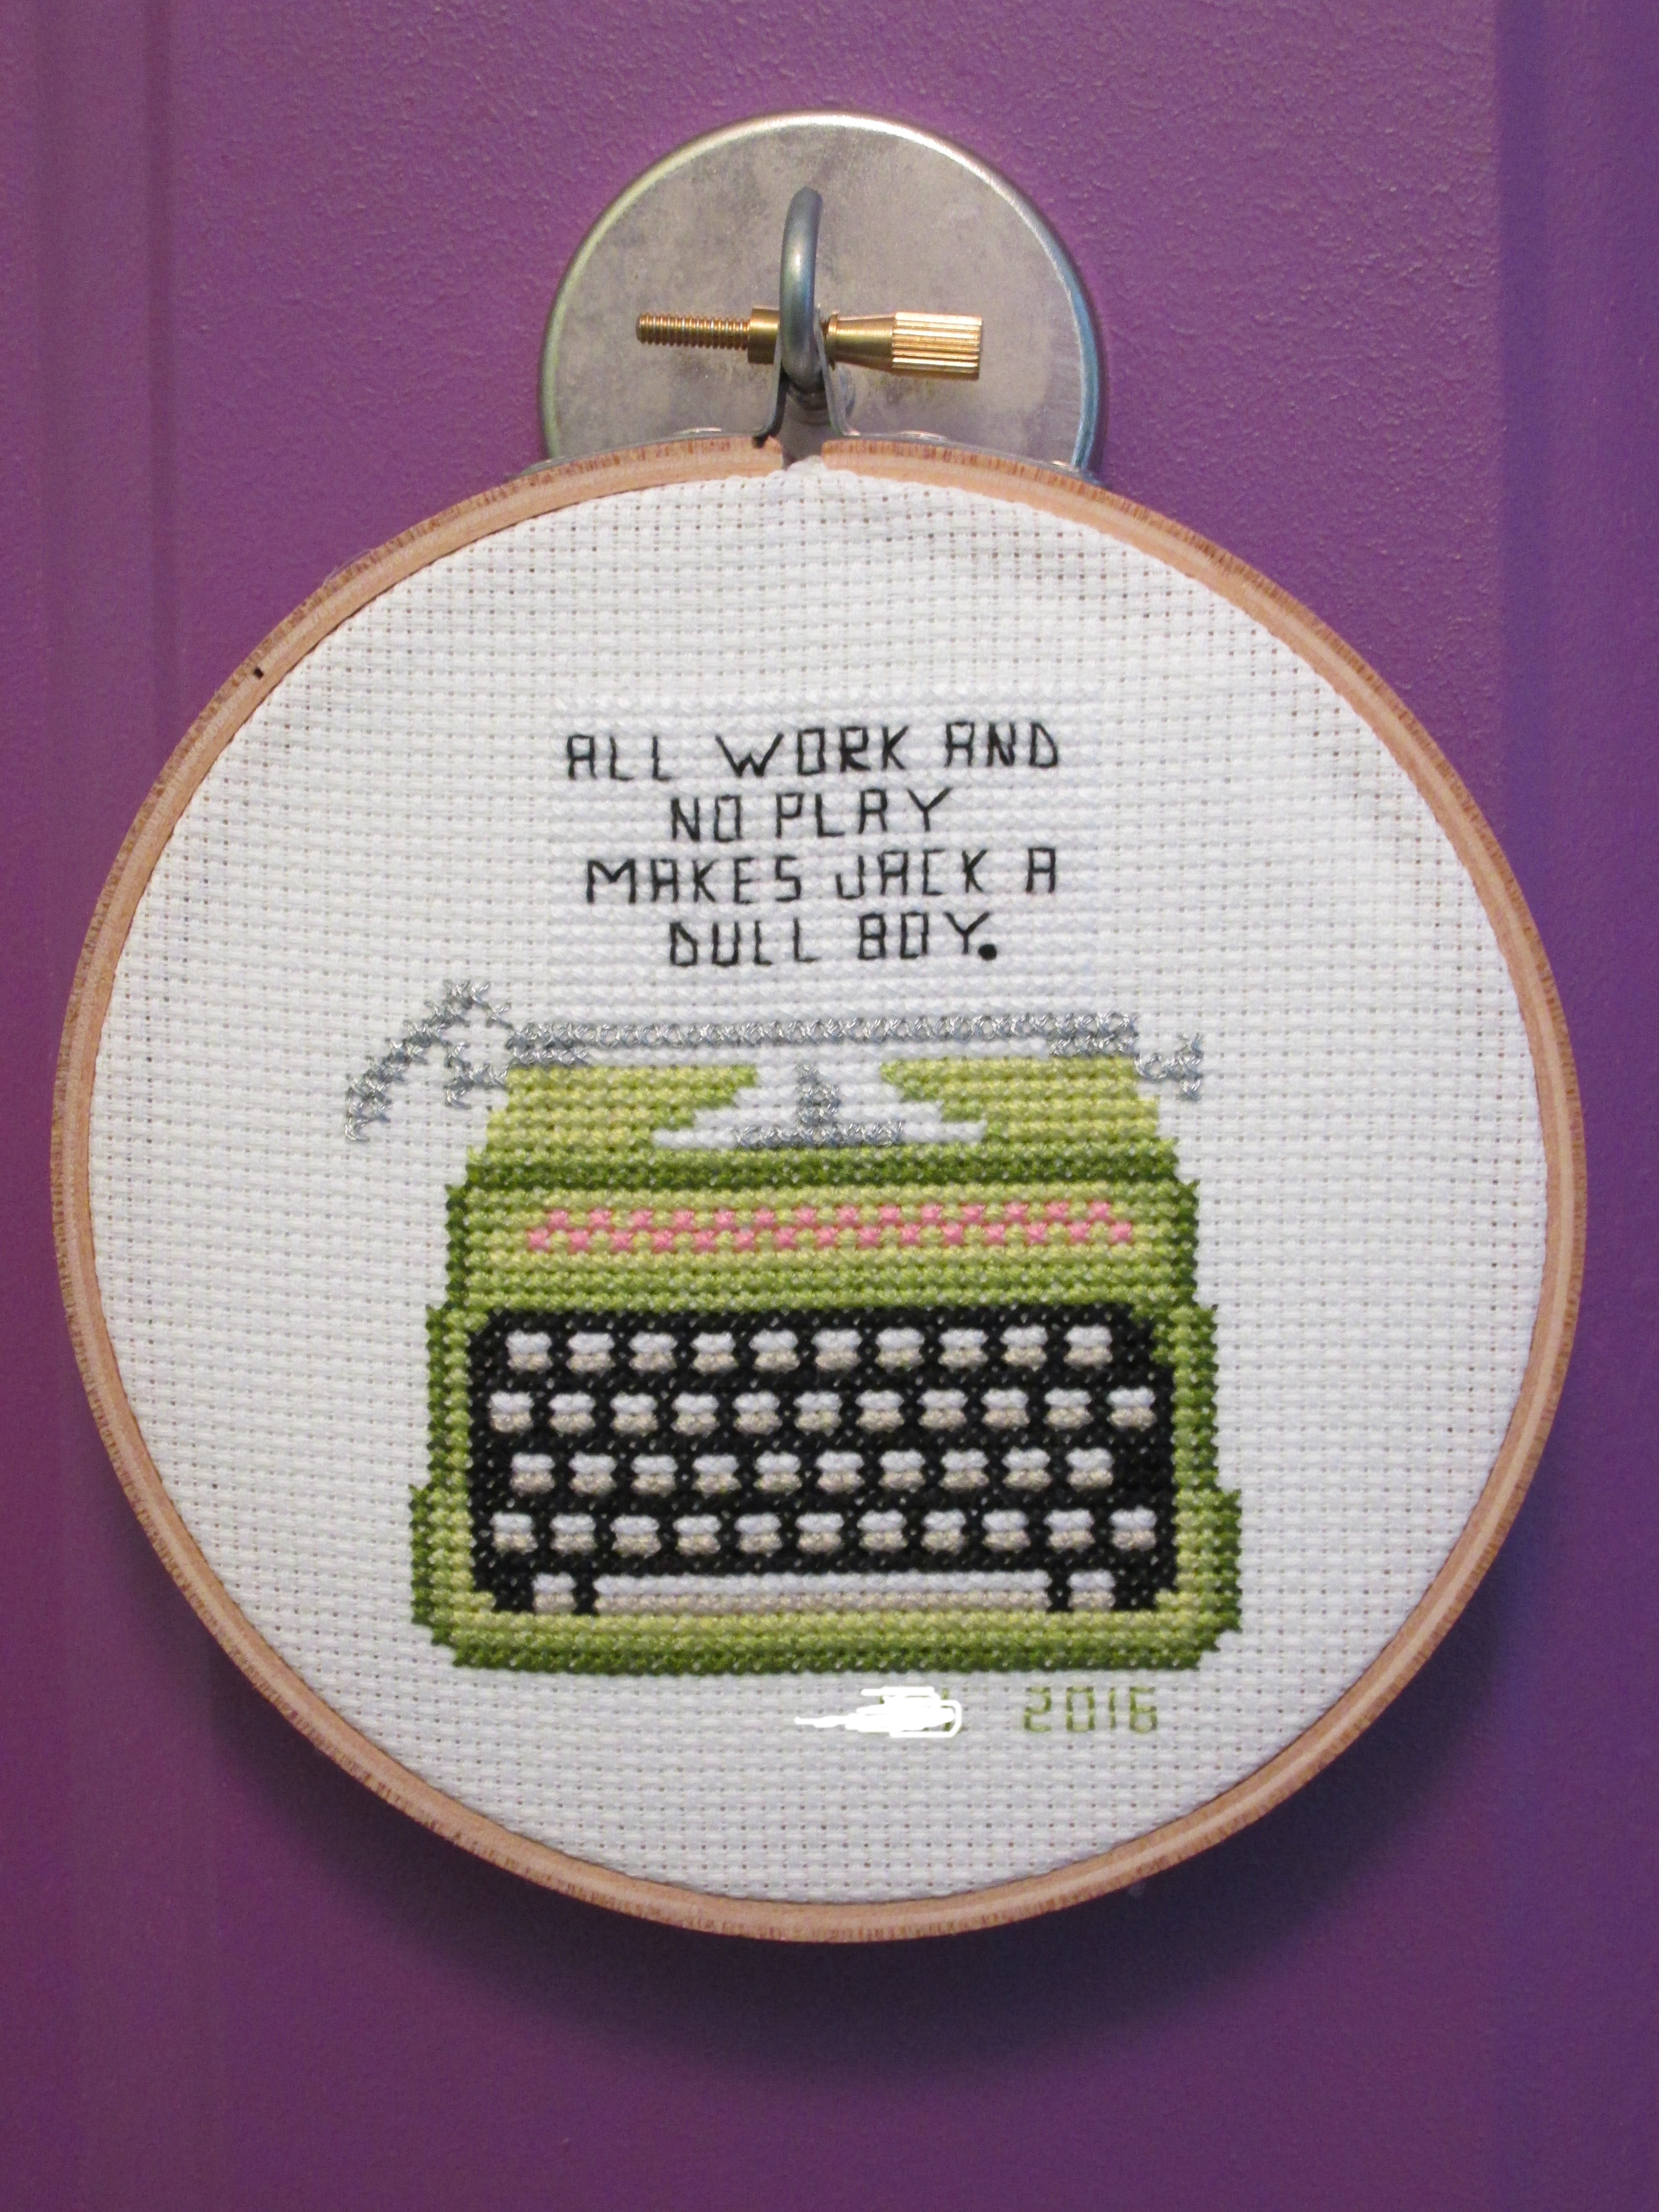
One thing I have going for me, however, is that I had the presence of mind to start early on the one project that has to cross international borders via a wholly reliable and never delayed or overpriced postal system.  What does one make for the writer who’s a Stephen King fan and who collects typewriter paraphernalia?  I did what I do best, and perused Etsy for inspiration.  Good thing, too, because that’s where I found these tiny typewriter charts.

I wasn’t crazy about the phrases on the typewriters’ paper, though.  They were cute, sure, but not quite what I was looking for.  Some divine inspiration struck, and I was reminded of The Shining, where no TV and no beer make Homer…something, something, uh, where Jack Nicholson goes stir-crazy.

img_0833-1

It looks big there, I know, but that’s actually a four-inch hoop it’s framed in.

Also, I didn’t much care for the fact that the carriage return and paper-guide-bar-thingie (note the pains I take to use the technical terms) were originally supposed to be stitched in plain cotton embroidery floss, and substituted in DMC E415.

img_0834

Et voila, a hip, pop-culture-y hoop, with minimal stress or fuss.  It was put in the mail Sunday; I hope she likes it!

Thanks for looking! 🙂

craftmas, General Sewing

To go boldly where no man has gone before

True Trekkies will take issue with my slight misquote; however, grammarians will rejoice at my perfectly unsplit infinitive (perhaps even to the point that they will ignore “unsplit” not being a real word).

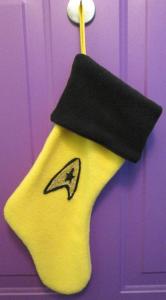
My friend Bill is a fan of Star Trek: TOS, and particularly of William Shatner.  Over the years, I’ve bought him many books penned by Mr. S., as well as bobbleheads, action figures, and other paraphernalia.  Some months ago, whilst rifling through my bookmarks, I found this link.  I had originally saved it a few years ago, and finally decided it was high time I did something about it.

Panic very nearly set in when I clicked on the link to the McCall’s website found within the post, and discovered it no longer existed; luckily, my crafty packrat instincts had kicked in when I first read about the project, and I had downloaded the PDF pattern and instructions.  With some felt, gold fabric paint, and about $2 worth of fleece, Bill would have his very own Star Trek stocking.

ststocking1

I chose Command Yellow (Gold?), natch – oh, so appropriate, given that his wage-slave hours are spent as a team leader – and found a silhouetted version of the insignia with a quick Google search.  My insignia is made up of three pieces of felt: a black bottom layer; a smaller, yellow layer painted with two coats of gold fabric paint that required 24 hours to dry each time; and a black star on the very top.

ststocking2

And filled to the gills with all sorts of goodies!

I took a few liberties with the pattern, such as not lining it – though in hindsight this may have been helpful, since the paperback book I thoughtfully stuffed in it caused some rather unsightly bulges.

I made the delivery last week, which seemed a little early, but I wanted him to have the stocking for a Christmas decoration throughout December.  For his part, he asked where I bought it (!), and now has it hanging at his desk, where several coworkers have asked where he got it.  This might be tough to beat next year!