A couple of years ago, one of my mom’s friends from out of town came by with a box full of produce from her garden and homemade preserves. It was then that I encountered groundcherries for the first time, but of more immediate interest was the jar of peach-pepper jam.
“Is it spicy?” my mom asked, not unreasonably.
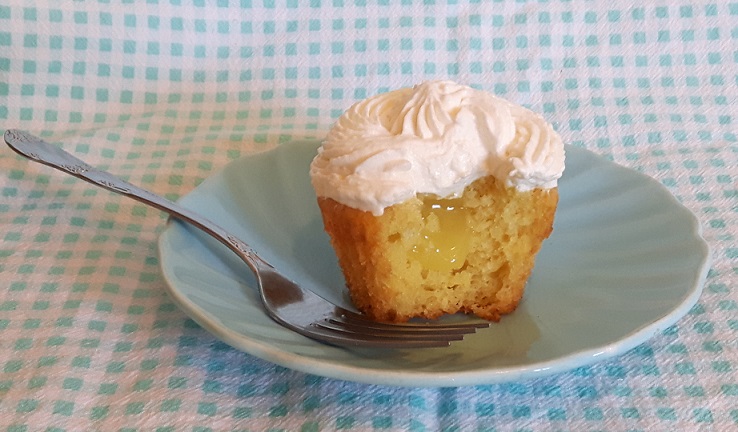
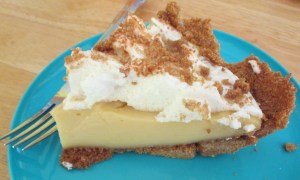
“Oh, no. If I can eat it, it’s not spicy.” She explained that she likes to spread a thin layer of cream cheese on a cracker (or several) followed by a smear of the jam, and the cream cheese helps dull any spice. Not the healthiest snack, surely, but she was right: it was delicious like that.
Fast-forward a couple of years, and my Baking Buddy and I were spitballing ideas for homemade Christmas gifts (yes, it’s September and I used the C-word), when I remembered the jam. He thought it sounded like a good idea, and that’s how we came to spend a Saturday morning slicing and dicing the produce we had carefully selected a few days prior.
We used this recipe, which I had confirmed was the one from whence sprang the jar that showed up a few years prior. My previous experience had been limited to freezer jam and not honest-to-goodness cooked and sealed stuff, so I was looking forward to practicing a new skill, too.
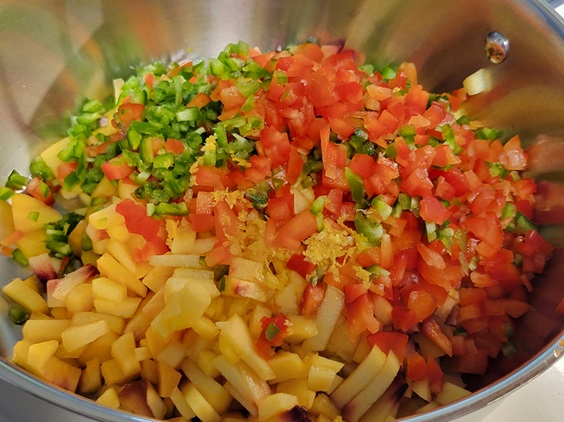
It made me think of peach salsa, albeit a deconstructed version, when we first added all our ingredients to the pot. There’s something so appealing about the vivid colours of the produce.
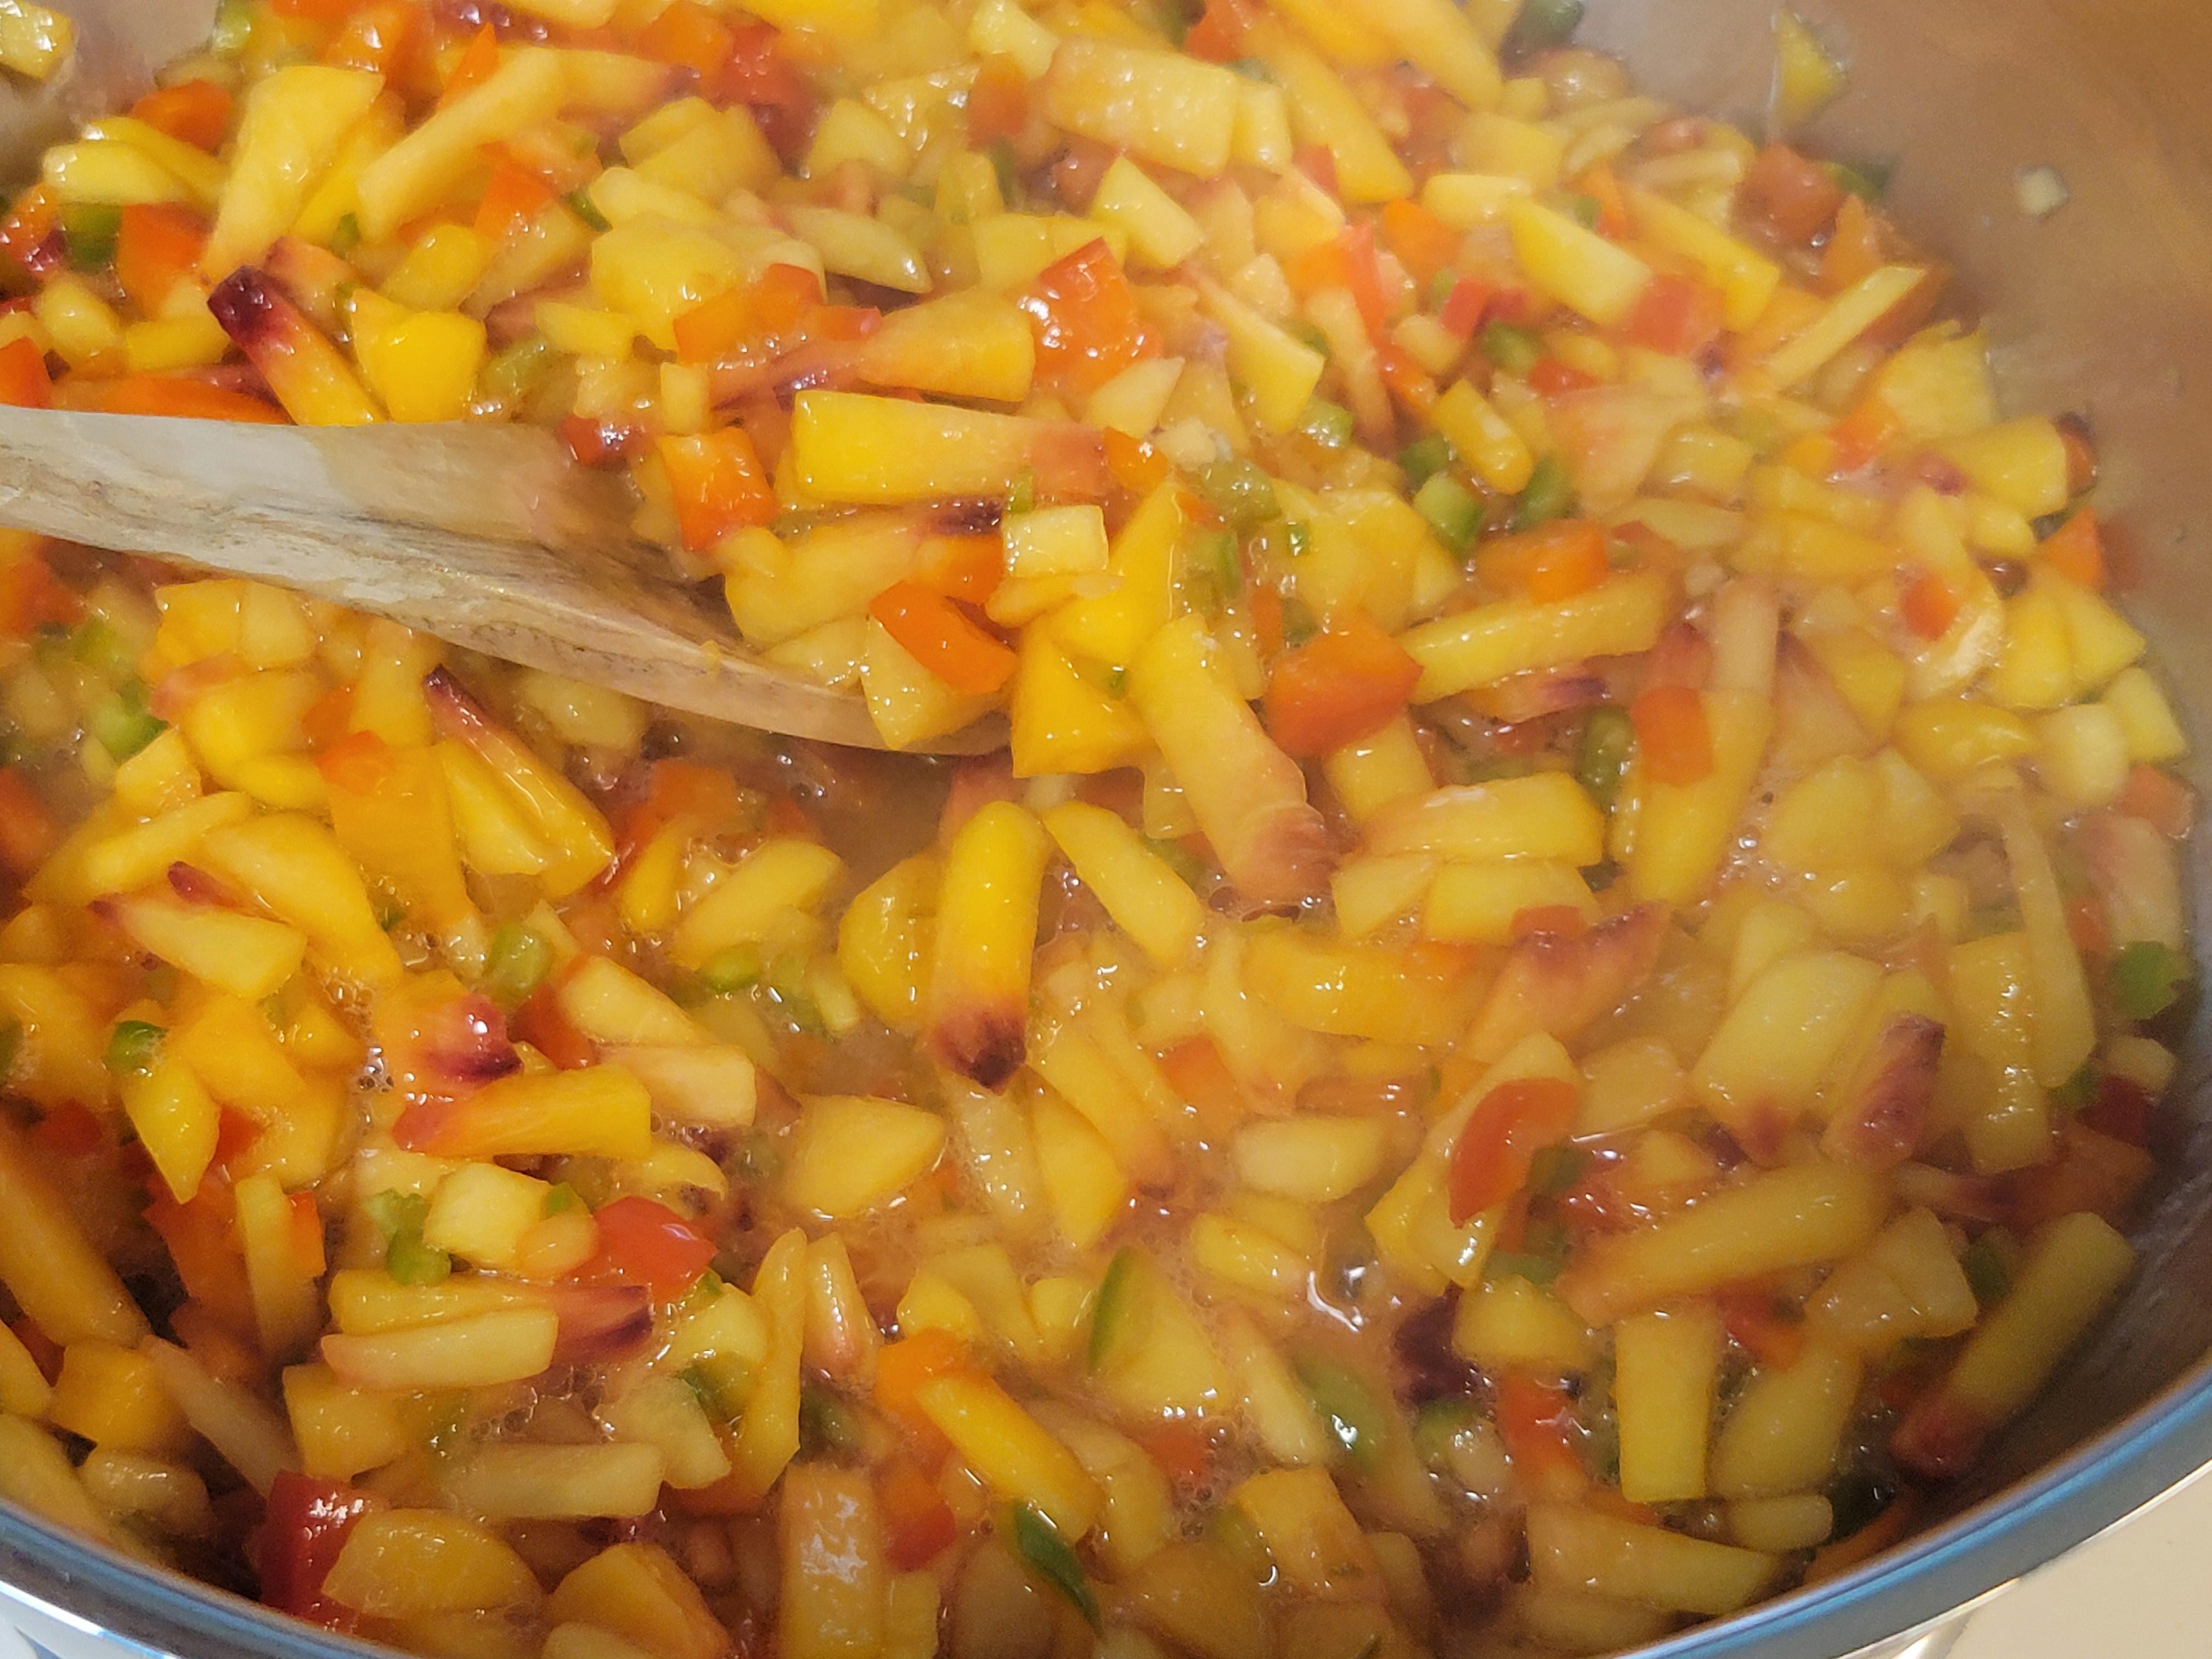
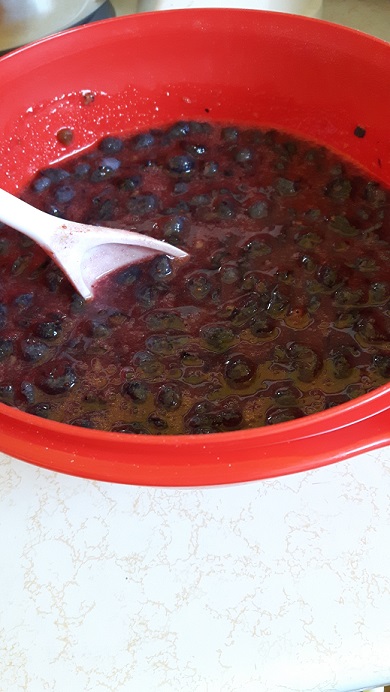
Before long, though, it started to get saucy.

Full steam ahead! This was actually a welcome relief, because when we first started out we were concerned there wouldn’t be any liquid to gel. The peaches were pretty firm and not really juicy, and the peppers didn’t seem to offer a lot of moisture, but by the time we got to this stage I was glad we didn’t try to “help it along” with any added water.
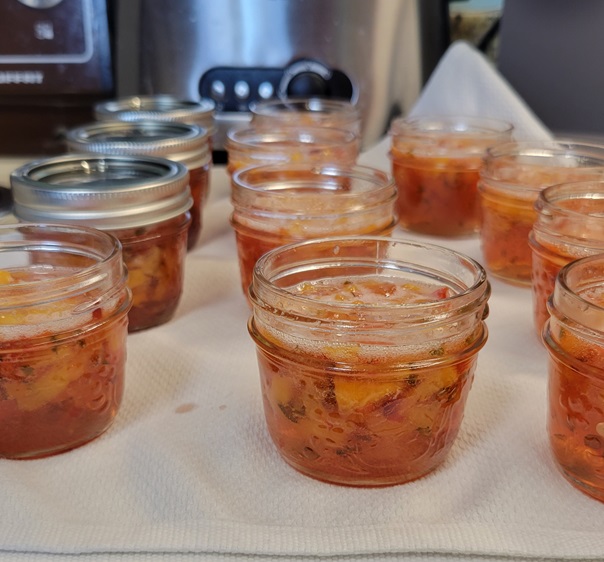
Aren’t those little 125 ml jars the cutest? They’re going to be perfect for tucking into a gift bag.
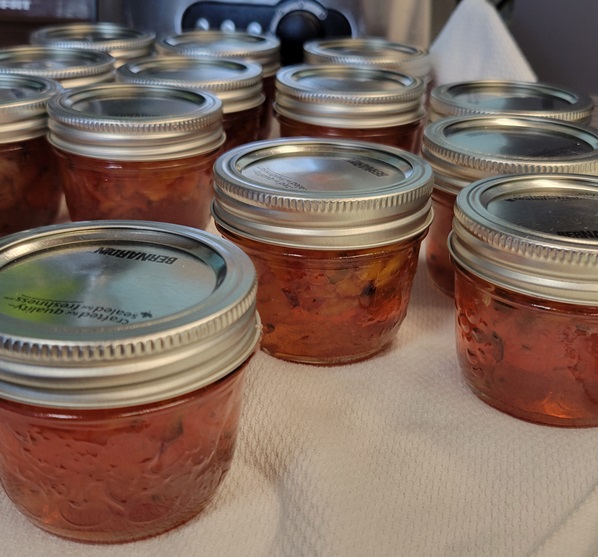
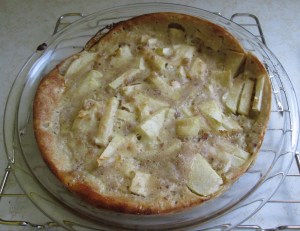
The beautiful pink-ish colour is just a bonus. I was expecting yellowy-peachy, but this is so pretty!
Our finished product had a bit more kick than the jar I had been gifted, making me think the recipe had been tweaked somewhat to include a bit more peach or a bit less pepper – but this is by no means unbearably spicy. We cracked open a jar to try it, and it’s got a sweet-hot zip that should be a hit.
Thanks for looking! 🙂