Nostalgia makes everything better, doesn’t it? Food is tastier, music is better…all because of the memories associated with it.
When the “I Love the 80s” swap showed up on Craftster, I was so, so in. The cartoons! The neon colours! I think that was probably the first generation of kids that was marketed to hardcore by businesses, and it showed in the Pinterest rabbit hole I found myself falling down. I think I could have made a career (if a low-paying one) out of curating just the right Popples and Strawberry Shortcake pins.
Apparently not many people feel that way, because when sign-ups closed, there were only three of us signed up. We did a round-robin swap, which sounds more family-friendly than “three-way” – Person A sent to Person B, Person B sent to Person C, and Person C sent to Person A. It was a three-point swap, which meant that your swap package should take three or more hours to craft or cost $30 or more in supplies.
I found a truly outrageous pattern to stitch up:

I found neon craft acrylics to paint the hoop, too. Between the colours and the sparkly aida fabric, it popped. But it felt kind of underwhelming on its own (despite meeting the 3-hour mark), so I made a felt-appliqué My Little Pony to go with it.
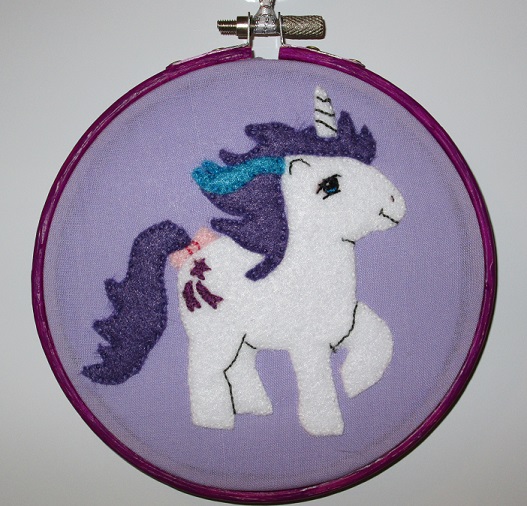
Luckily, the same purple paint complemented Glory’s mane and tail perfectly.
I felt pretty good about my package, but hoo boy, did my partner ever spoil me!


A mug rug! The 80s-est (it’s a word now) notecards ever! Even a Caboodles! But the Lisa Frank shrine really shone, and needs a little love of its own.
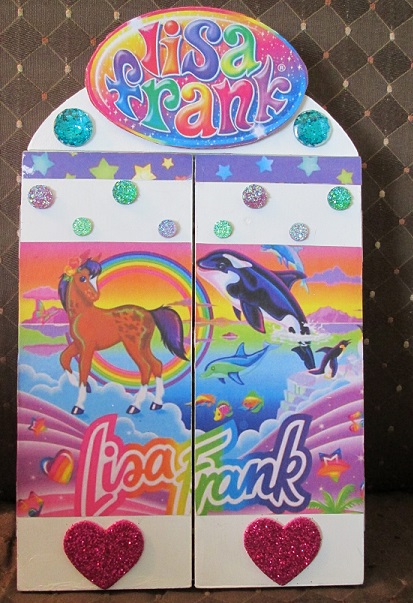

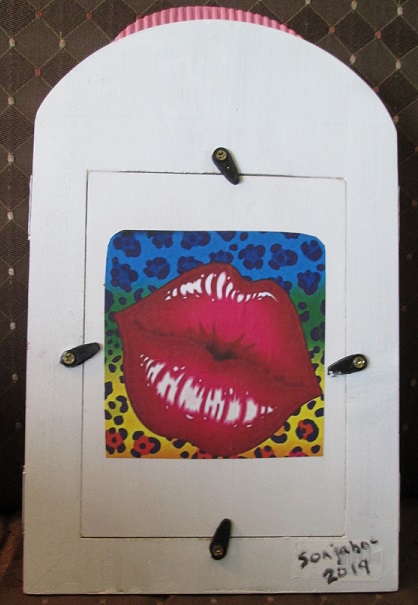
I was seriously blown away by her generosity, and quite frankly by the utter perfection of her choices. It seemed like if it was on my swap questionnaire, it found its way into my package. I thanked her profusely, of course, but couldn’t let that be the end, so I felt-appliquéd a hoop for her, too.

What else do you send someone who brought such cheer to your day but Cheer Bear? All right, and some chocolate, too. (By the way: that purple door in the background isn’t long for this world. Pretty soon you’ll be seeing a different backdrop for hanging crafts.)
This all culminated in mutual goodwill, and I was a little sad to see it all over – this was probably the most fun I had ever had in a swap, playing with the colours and characters. As it turned out, one of the Craftster members hadn’t been able to take part in the official swap, and so with a brief private-message exchange, we were able to work out details of a private swap.
My new partner was a collector of My Little Pony as well, and in the course of our exchange, I quickly hit on exactly what I had to make for her.

Gusty!

And Medley! (I’ve also seen it spelled “Melody”, and if someone knows which is right, let me know.) Gaah, the detailing on her wings stressed me out. I kept worrying the definition wouldn’t come through.
I still wanted to include something else with them – I might be a lot of things, but I’m no one-trick pony (ha!). While Googling the Wuzzles at work one day, I discovered just what an amazing collection of vocal talent that show had. Bill Scott (you might know him as Bullwinkle J. Moose, Dudley Do-Right, Mr. Peabody…) was on it, but – and this is what did it for me – so were Henry Gibson and Joanne Worley. I had never heard of them, or of Rowan and Martin’s Laugh-In, as a kid, but present-day Witty Child just about fell out of her chair.
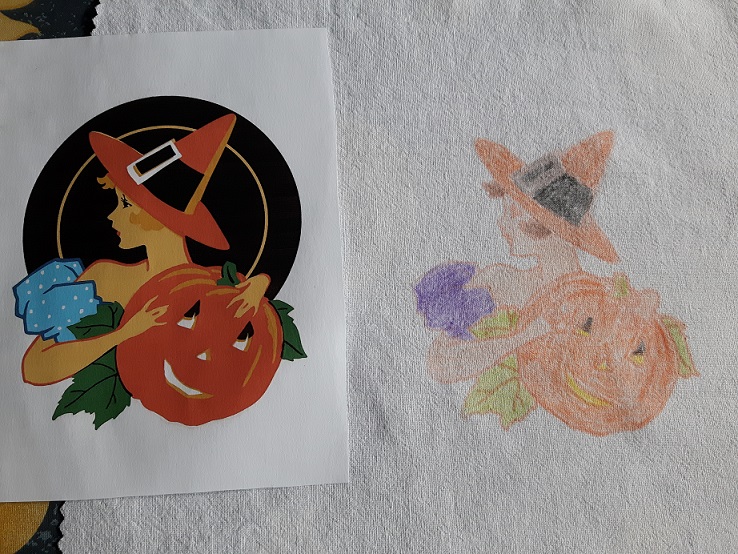
But how to immortalize their characters? More felt appliqué? Nah. Embroidery would be nice, but I’d want to do a fill stitch of some sort to capture the colours better than an outline alone could do, and I didn’t have the time for that. And for the first time ever, Michaels provided me with something useful, in the form of fabric markers.
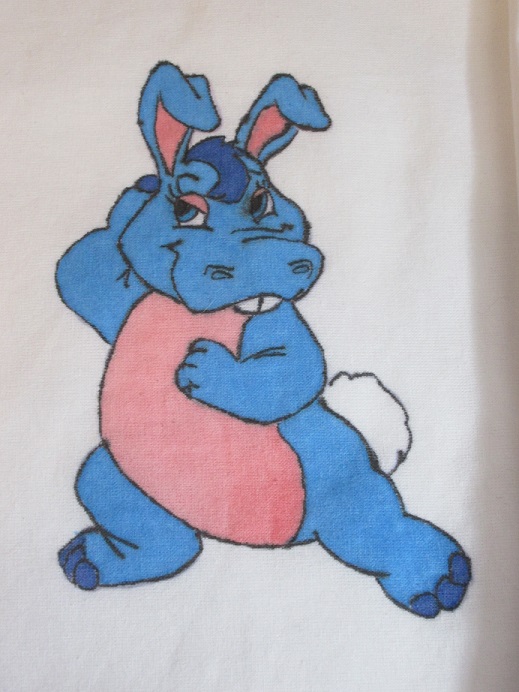
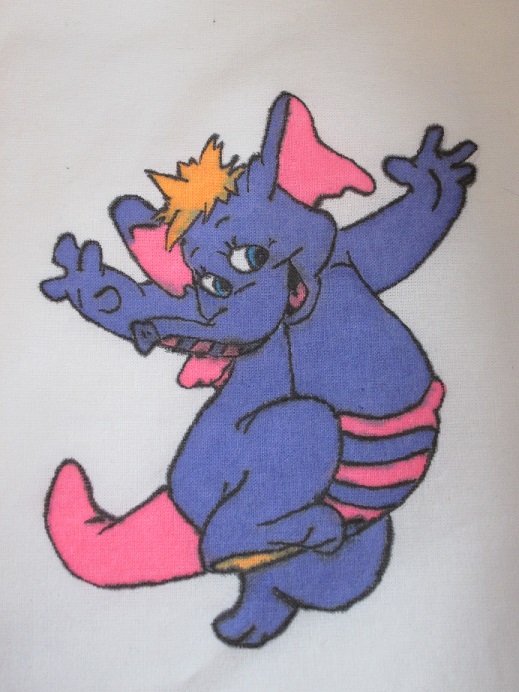
The markers gave me the colours I was looking for, and worked really well on the tea towels I used. They even held up after being washed, and I can’t imagine how many hours and needle-induced callouses they saved me.
It seems that my partner and I were kind of on the same wavelength, because I got home one day after work to find these waiting for me:
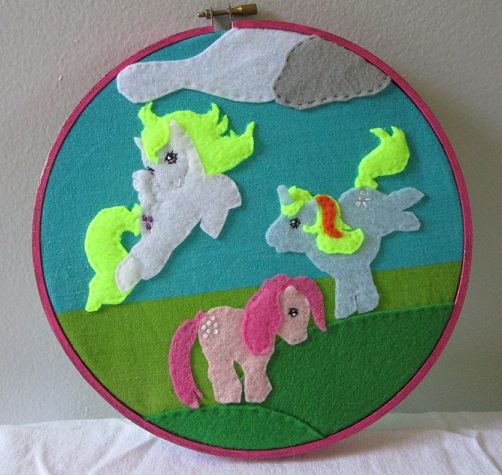

Felt-appliquéd My Little Ponies! Cotton Candy will always be #1 in my books. And Lisa Frank kittens! That neon yellow on both of them (fleece for the ponies, and embroidery floss for the kitten) positively draws the eye. Who am I kidding, I can’t stop looking at either one of them.
80s-themed crafting: can’t stop, won’t stop.
Thanks for looking! 🙂