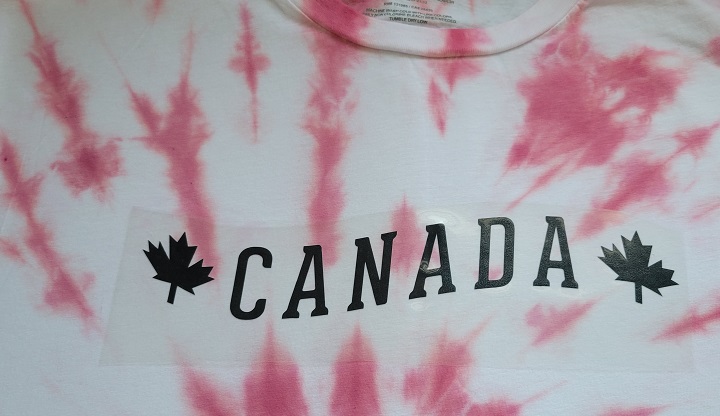
I’ve been tie-dyeing since I was knee-high to a grasshopper an idealistic teenager who really wanted to be a hippie. I’ve gotten over the hippie stuff, mostly, but still enjoy the tie-dye. And although I’ve added vinyl transfers to a shirt I’ve already dyed (like my Canada Day shirts from a few years back), it didn’t occur to me to try dyeing a shirt that already had a graphic on it, until I saw someone do it on Lettuce Craft.
Back in the spring, I found this lonely guy in the clearance section:

I’m not a fan of white, and would normally never have looked twice, 40% savings be darned. But ah, as a blank canvas…that’s a different story.
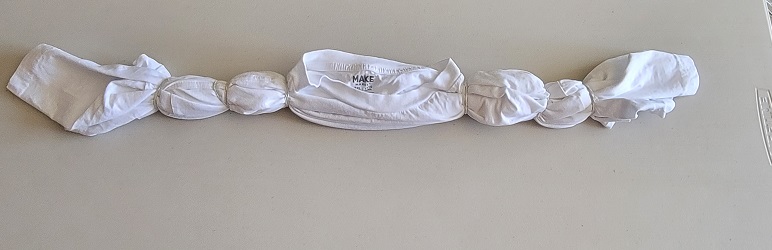
After dampening the shirt and wringing it out (this is after prewashing, of course), I decided to go for a classic spiral pattern. My hands were covered in gloves which were in turn covered in dye, so I didn’t get an in-progress picture. If you’ve never tried this and want to see how, Tulip offers a really cool step-by-step.
After waiting the requisite 24 hours or so, the shirt was rinsed until the water ran clear, and it looked like this:


It still had to be run through the washing machine, though. It’s a little crazy how much dye there still is to be removed! Here’s the final product:

It might not be as brilliantly bright as it was post-rinse, but the colours are still vibrant and transform it into something summery and fun.
Thanks for looking! 🙂