I’ve written in the past about trying to find a red velvet cupcake recipe that’s both tasty and fire-engine red (oh, and moist! But that’s a cousin of “tasty”). Since the last time I wrote about it, my red velvet escapades have primarily consisted of hitting up a local restaurant famous for its version and/or trying my recipe from Vegan Cupcakes Take Over the World with the addition of red velvet baking emulsion and red velvet cocoa from Bulk Barn. Somehow, the inclusion of these ingredients seemed to only make the finished product dryer than usual, so I quickly abandoned that. But hey, that’s OK – there’s always the restaurant cake.
And then, a special request for mini Baileys cheesecakes came my way. Cheesecakes, I can handle. When I nonchalantly found my way over to Life, Love, and Sugar to double-check the ingredients, whammo! There was a recipe for red velvet cupcakes staring me in the face. ”No harm in at least reading it through,” I thought, followed by, “Hey, this looks pretty straightforward.” At the very least, I had all of the ingredients in the house, and – bonus! – this would be a great way to use up the little bit of buttermilk left in the carton from a different recipe. I tried to temper my expectations, and got my supplies together.

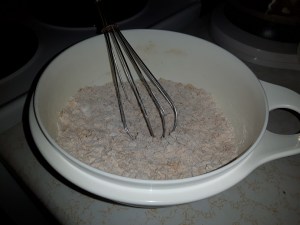
There are only two teaspoons of cocoa in the whole recipe, and yet – and yet! – they still managed to have little cocoa-y clumps that I tried my darnedest to break down with my mixing spoon.
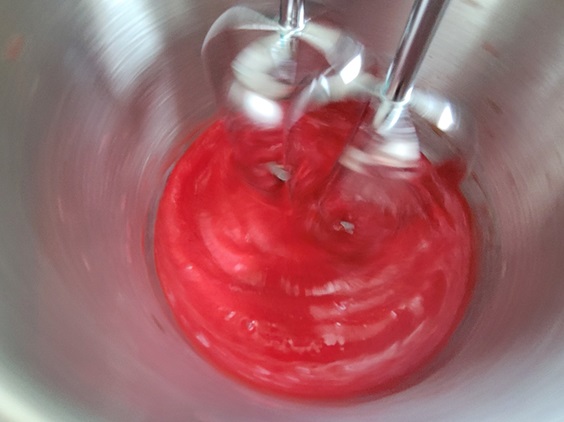
It got interesting in the wet ingredients. The recipe calls for two teaspoons of red food colouring. I found a powdered colour by LorAnn and tried it on a whim, thinking it might be more concentrated than a liquid colour. Dang, did it ever make my wet ingredients red!
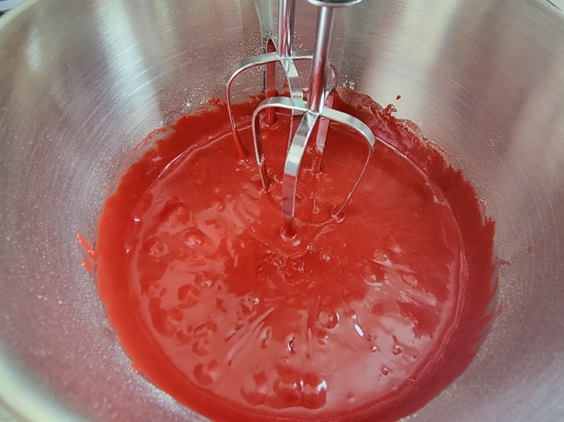
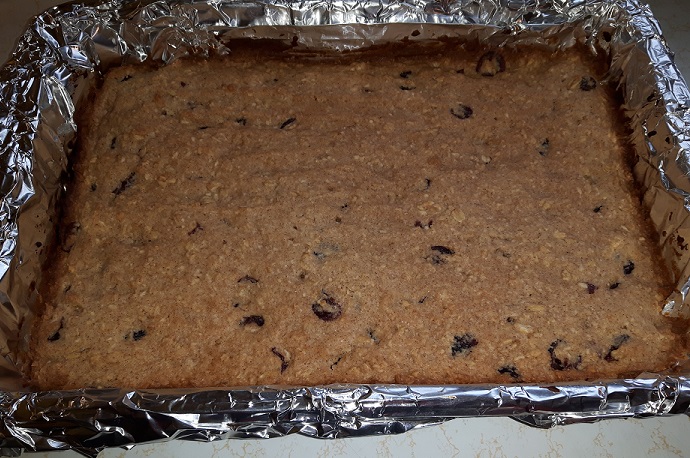
The colour was muted only a hair when I added my wet ingredients into my dry. The method surprised me: normally, I’d add dry to wet, but I dutifully followed the instructions. The oddest part was after the two sets of ingredients are mixed, a half-cup of hot water gets slowly incorporated. It makes the batter incredibly thin, and I admit I was a bit skeptical at first.

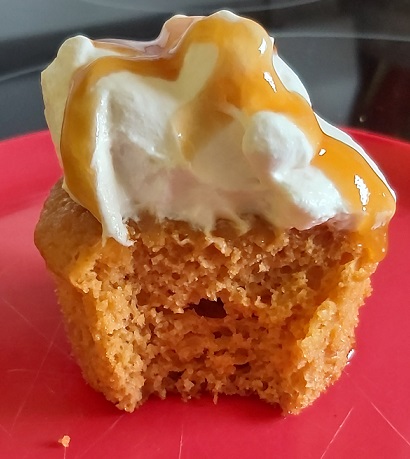
The thin, thin batter made filling my cups a bit of a messy prospect, but they baked up like a charm and (bonus!) retained that nice red colour.

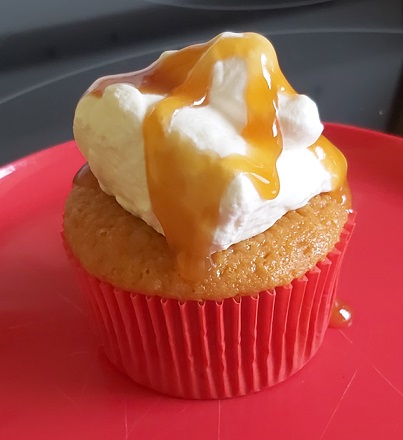
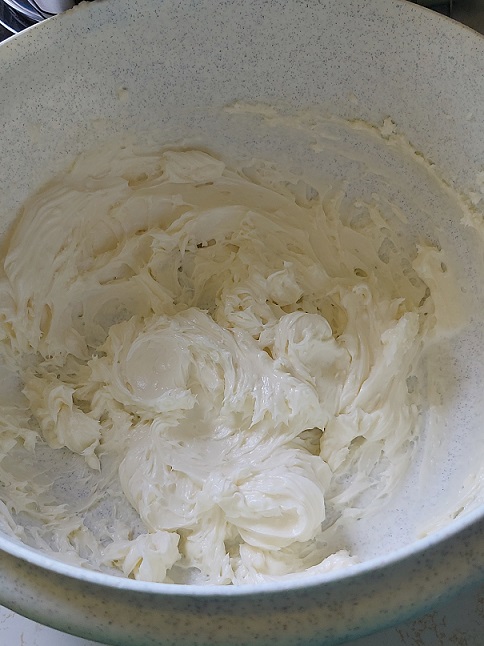
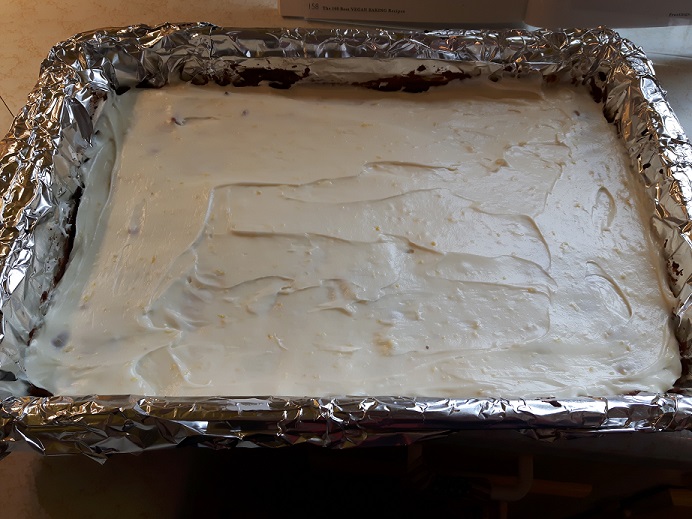
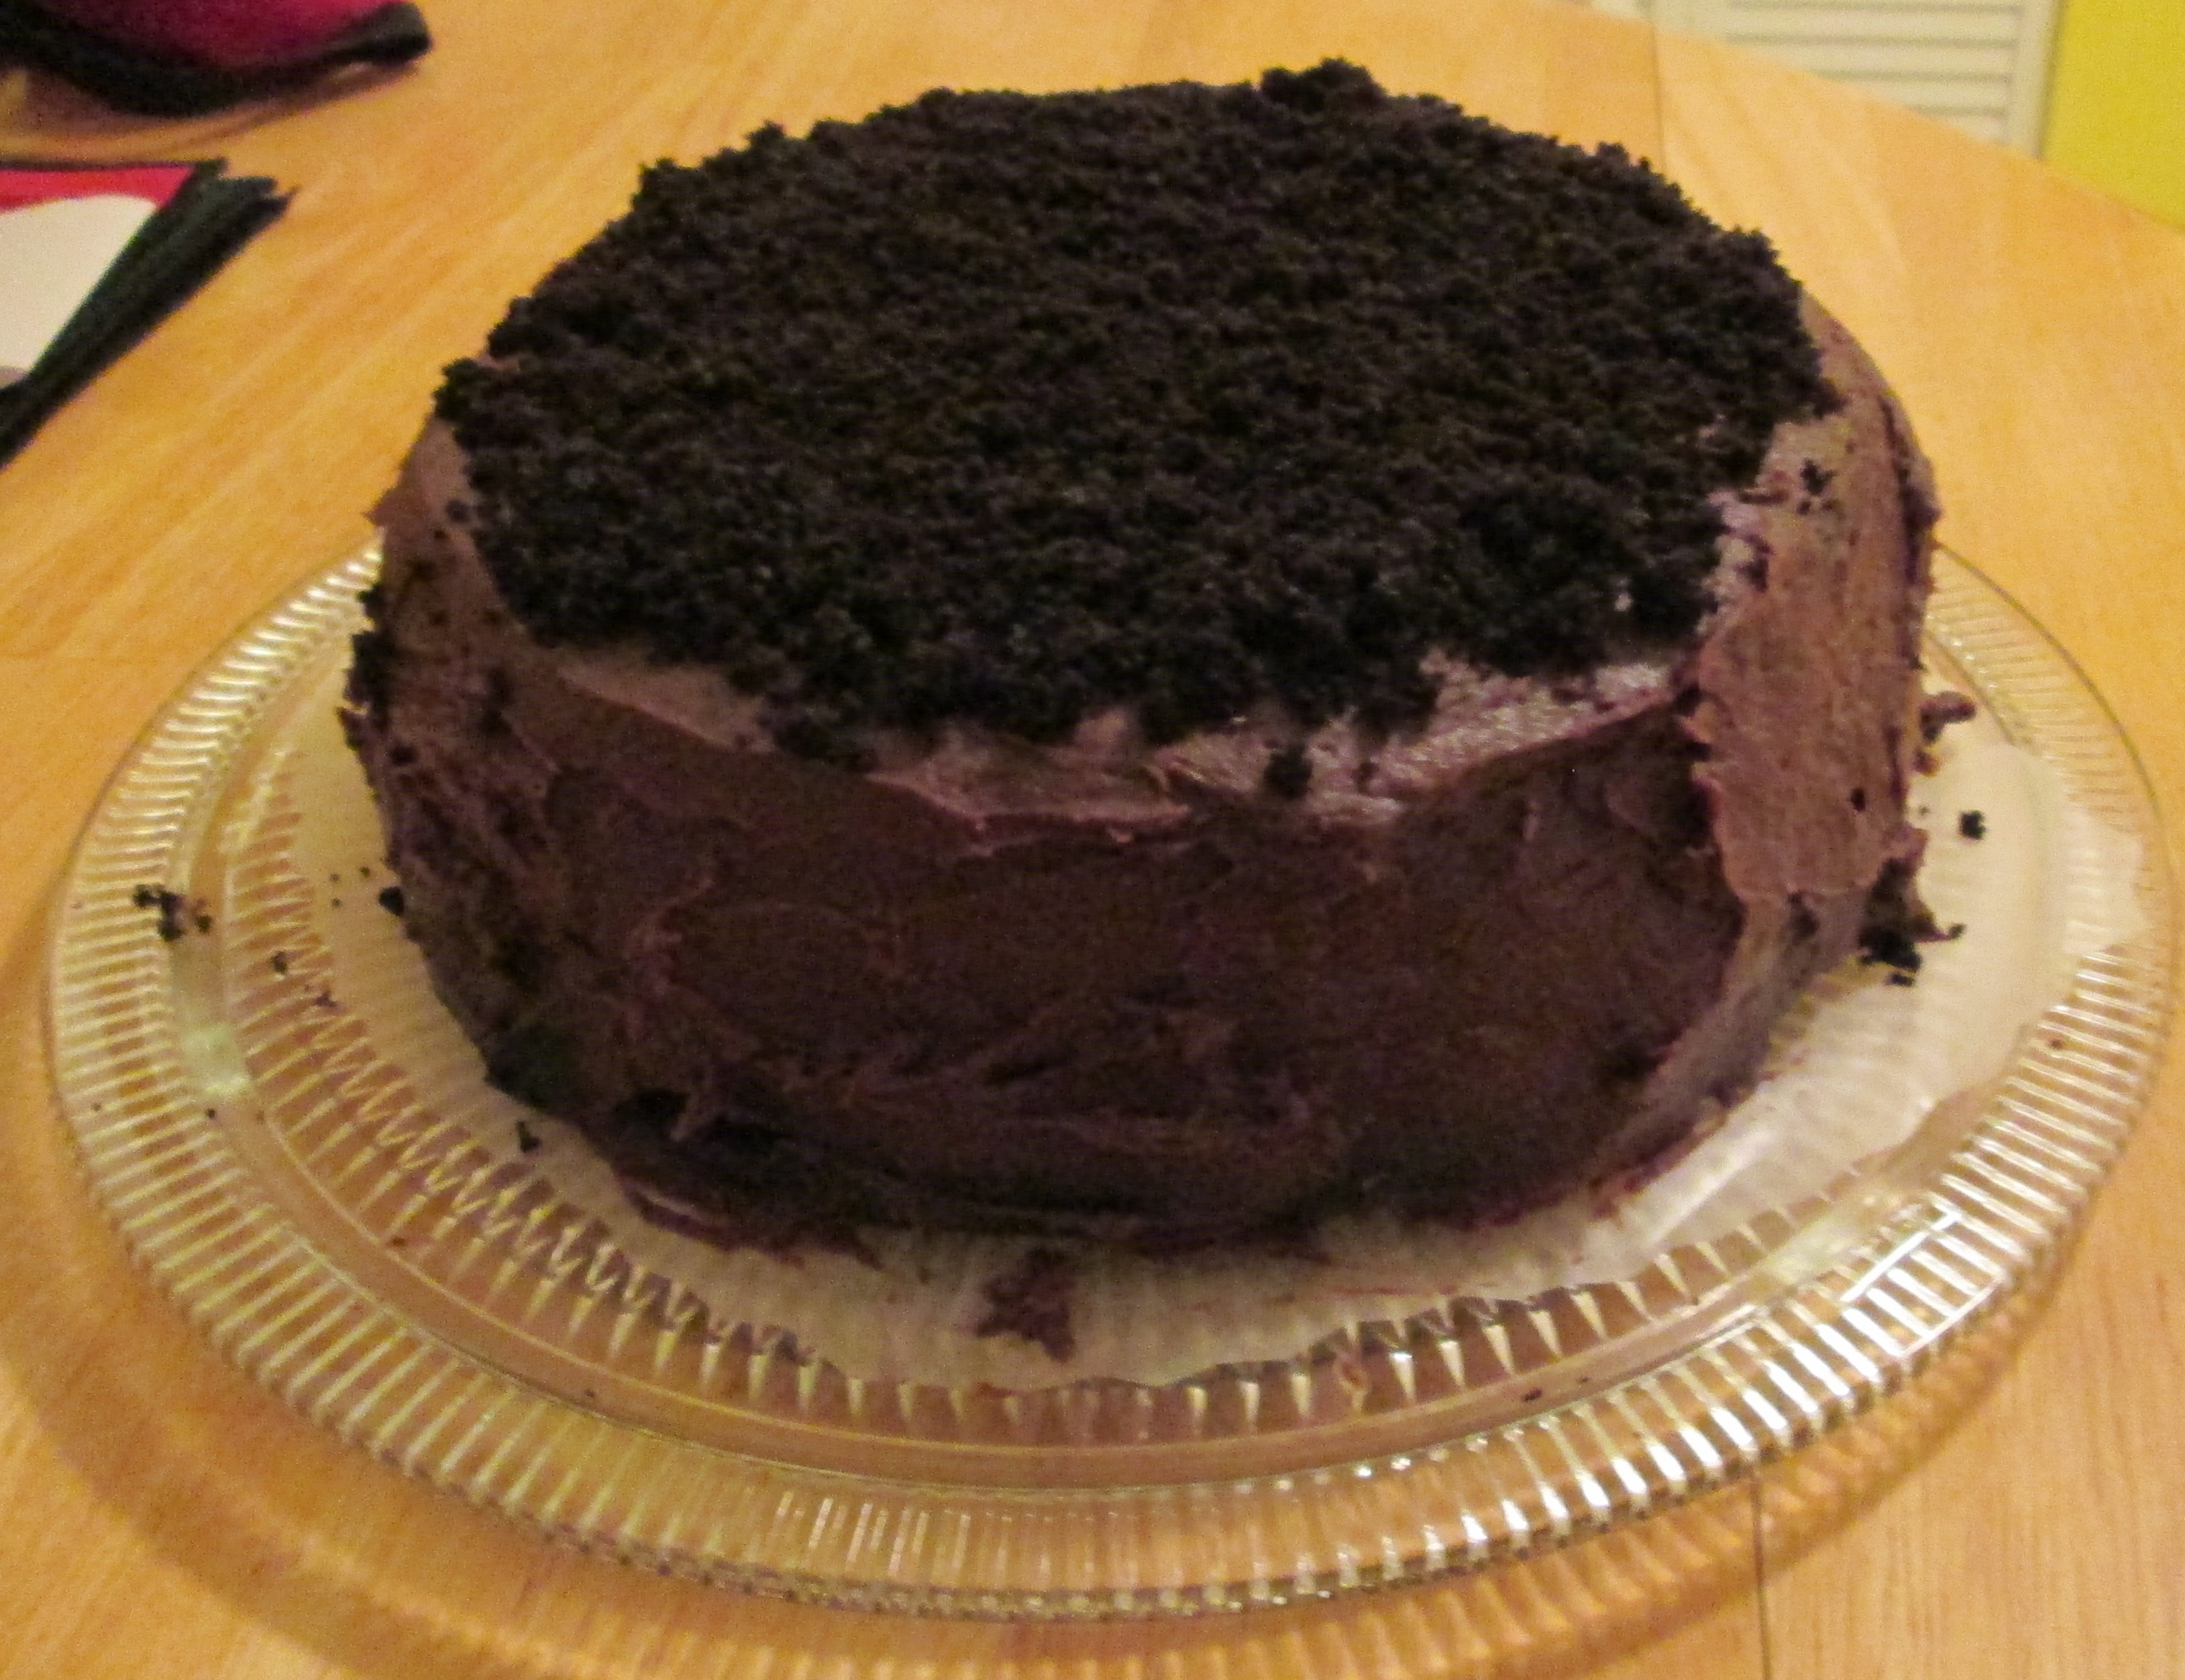
I cheated a bit and used a can of store-bought frosting, for a couple of reasons: 1) There had been a can kicking around the pantry from a bake a while ago that didn’t happen and I wanted to use it up instead of tossing it, and 2) I don’t have the clairvoyance required to have taken out cream cheese to start softening before I even realized I was going to bake, so a homemade cream cheese frosting was out. For the record, it wasn’t awful. It definitely tasted less sweet on the cupcakes than it did off the knife, and it served that all-important purpose of keeping the tops moist.

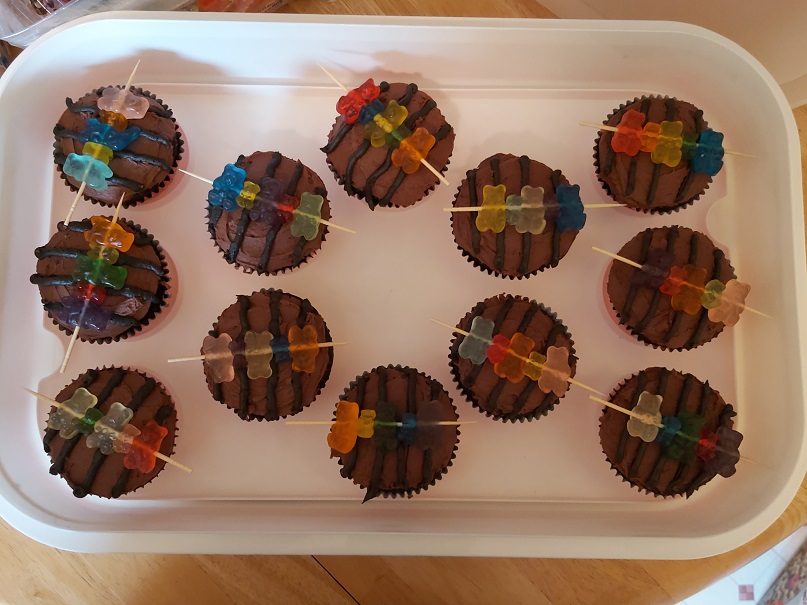
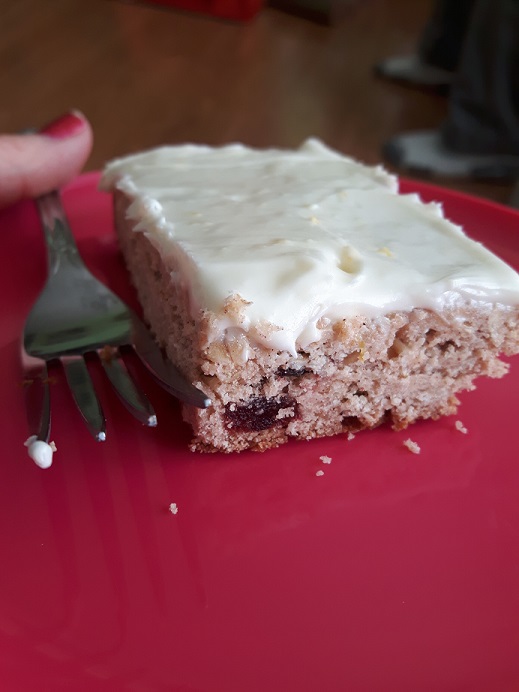
Look how red they stayed! That was one point for them, but how did they taste?
Like red velvet should, that’s how. These are moist (there’s that word again…) with a tender crumb and just the slightest hint of cocoa to compliment the notes of vanilla from the extract. The next time I make these, I’m pulling out all the stops and making a homemade frosting for them. A cream cheese frosting would really pop on these, although I’m also having thoughts of the cream cheese whipped cream topping I use for almost everything.
Thanks for looking! 🙂