You know it’s summer around these parts when the cherry tree’s fruity offerings ripen practically overnight and all need to be picked immediately before they cause the branches permanent injury. I admit I’ve grown just a little disenchanted with the picking and the pitting, and was tempted to ignore this year’s harvest altogether and see how long it took the birds to clear it off, but…I just couldn’t do it. I didn’t want to do jam again (there’s still some of last year’s in the freezer because although I like making it, I never think to eat it), and so rescued a modest 6-cup bowl of fruit and thought about what to do with it.
I had first made these muffins a couple of years ago with blueberries, as the recipe calls for, but thought: why not cherries? Yeah! Why not cherries? The sour cherries, while larger than blueberries, are still pretty small compared with the jumbo Bing cherries all the local grocery stores trumpet, so I didn’t feel the need to chop them in any way before using them. But hey, do you know what happens to your hands when you pit a cup’s worth?

I texted that picture to a friend who wrote back, “Wait, did you burn yourself?” Luckily it all came off with soap and water, and yielded these beauties:

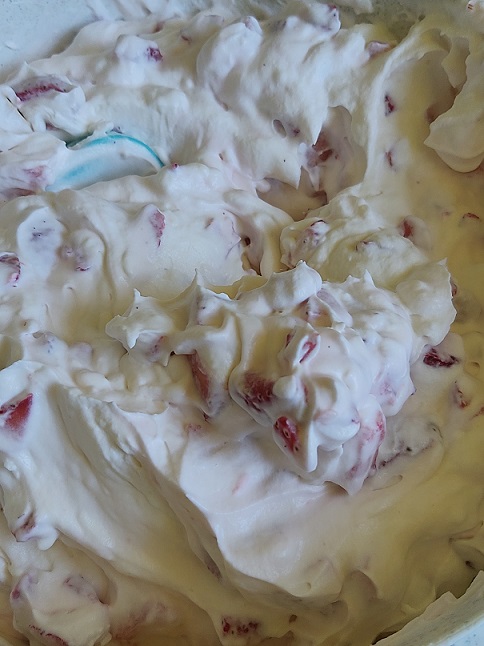
The trick to the recipe’s success is soaking your oats in milk for 20 minutes. It might not look like much… (Seriously, how can people eat overnight oats? Bleh.)

But it really does help the finished product – and gives you ample time to pull together your dry ingredients:

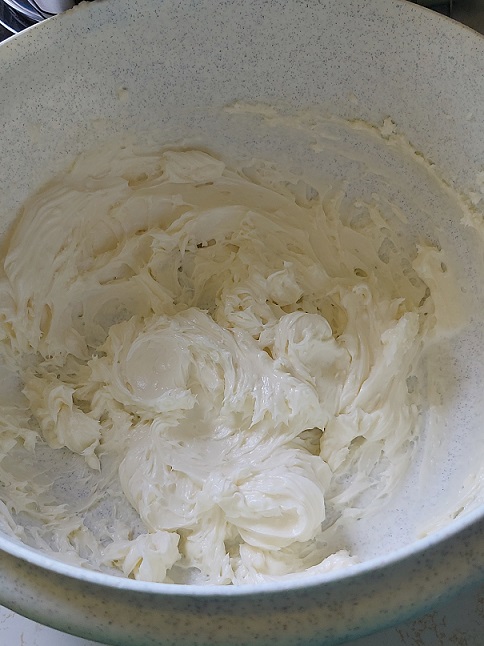
…and your wet ingredients.

This doesn’t look like much, either (are you noticing a trend?), but it smells heavenly once the melted butter, honey, and vanilla get whisked together.
Pour the wet into the dry, and add your milk ‘n oats and blueberries cherries.

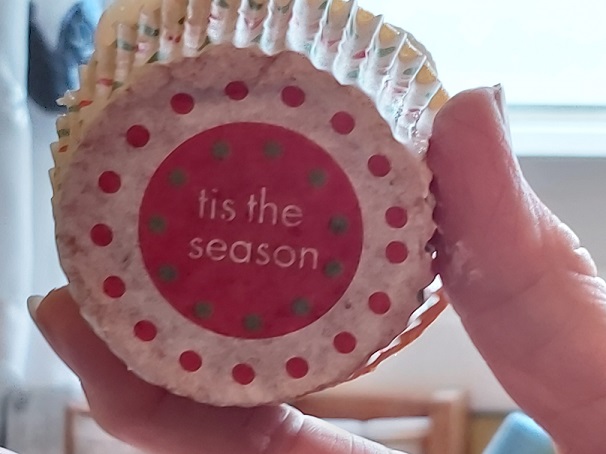
After spending years baking cupcakes, which you never, ever overfill unless you want them to do things they shouldn’t, there’s something deliciously naughty about making muffins that let you fill the liners right to the very tippy-top.

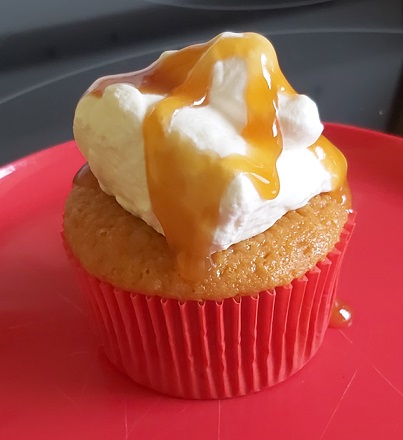
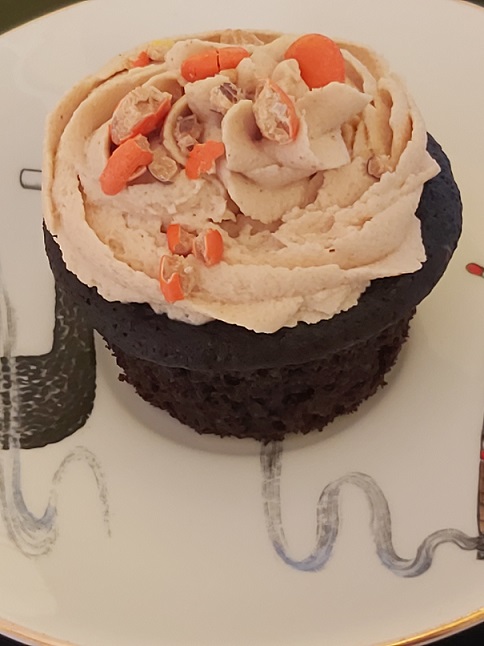
Five minutes at 425 and 17 minutes at 350 later, they finally look like something!

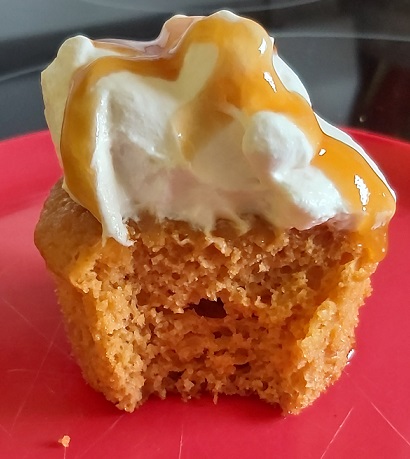
These are so lovely that I’m almost (but only almost) starting to wish that I had pitted and frozen more cherries to be able to do these year-round. The muffin batter itself isn’t overly sweet, and the cherries are tart in a way that’s reminiscent of cranberries. I tripled the cinnamon called for – we like cinnamon – but even at that it’s an undertone rather than some in-your-face spice. They’ve been a hit so far with everyone who’s tried one (or more!).
Thanks for looking! 🙂