I had to go at least a little pumpkin-y while the season still permits, didn’t I? Don’t get me wrong, the apple bread is still firmly in my repertoire, but it’s nestled in there right beside pumpkin as an autumn-y bake.
I’ll keep it short and sweet, because Christmas crafting time is ticking away, and you’ve got better things to do than listen to me wax poetic about pumpkin, don’t you? Besides, this baking adventure wasn’t born out of sentimentality, but of pragmatism: I had a container of pumpkin in the fridge as well as half a brick of cream cheese, and I wanted to use them both up.
Over the years, I’ve mish-mashed a few pumpkin cupcake recipes together and honed the finished result until it was perfect. So without further ado, I present…pumpkin spice cupcakes with cinnamon-cream cheese frosting.

For the cupcakes:
- 1 cup canned pumpkin
- 1/3 cup canola oil
- 1 cup granulated sugar
- 1/4 cup milk* (see note)
- 1 tsp. vanilla extract
- 1 1/4 cups all purpose flour
- 1/2 tsp. baking powder
- 1/2 tsp. baking soda
- 1/2 tsp. ground cinnamon (or more, if you’re a fan – I used a heaping teaspoon)
- 1/4 tsp. salt
- a pinch of ground nutmeg
- a pinch of ground cloves
- *NOTE: if you want these to be pumpkin spice latte cupcakes, you can dissolve 4 1/2 tsp. instant coffee in your milk. And if you want these extra-coffee flavoured, keep about 1/4 cup from your morning pot of joe set aside to brush on the tops of the cupcakes before frosting them.
- Preheat oven to 350°F, and line a 12-cavity cupcake pan with cupcake liners.
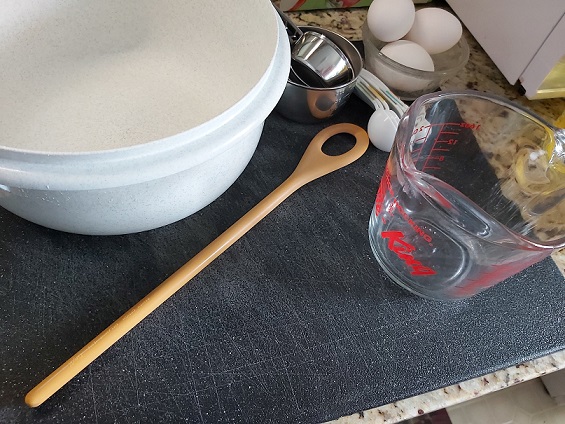
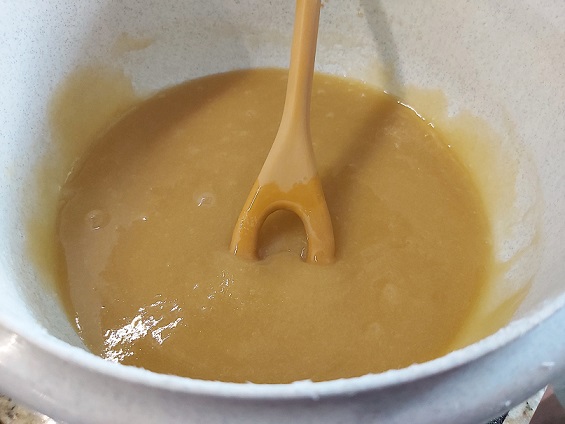
- In a medium-to-large bowl, stir together pumpkin, oil, sugar, milk, and vanilla. Sift in the dry ingredients and stir until combined.
- Fill liners 2/3 full and bake for 20 – 24 minutes, or until a toothpick comes out clean. Let cool completely on a cooling rack before frosting. If you’re going the coffee route, it’s easier to brush the tops with it while they’re still warm-ish.
For the frosting:
- 4 oz. cream cheese, softened
- 1 tsp. cinnamon (attention, cinnamon lovers: my teaspoon was heaping to the point of being nearly 2 tsp.)
- 2 to 3 cups powdered sugar, depending on desired consistency
- 1 tsp. vanilla extract
- In a medium-sized bowl, beat the cream cheese and cinnamon on medium-high speed until smooth and well combined, about 2 minutes.
- Sift in the powdered sugar and beat until combined, adding more as needed to achieve the consistency you want.
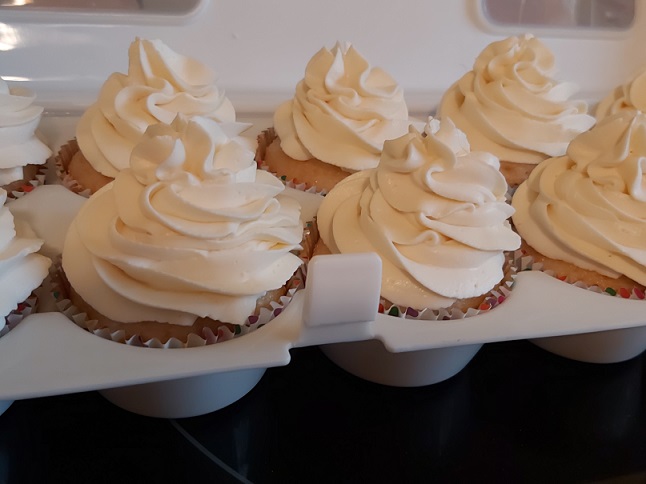
- Add the vanilla and beat on high speed until well combined and creamy. Frost your cupcakes, and marvel at the flavour explosion.

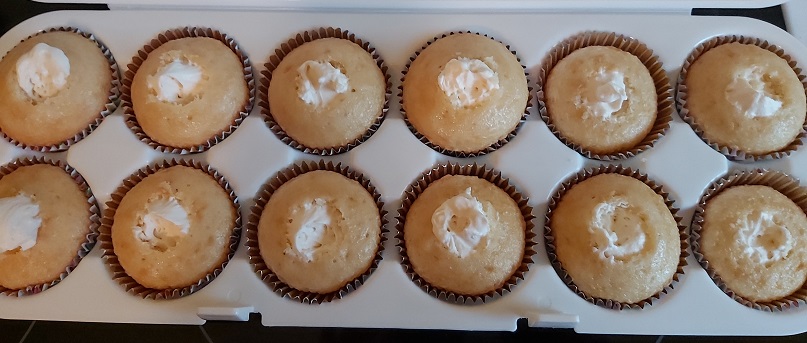
If cinnamon isn’t your thing, these are also great topped with a whipped cream topping like I did here.
And now, back to holiday crafting. Thanks for looking! 🙂