…my true love gave to me: some hoops for the wall (or the tree)!
This is indeed serendipitous timing: I downloaded the patterns for these hoops exactly one year ago (based on the “printed” date at the bottom of the pages). Someone on Lettuce Craft had stitched one of the designs, and I absolutely loved the typography. I immediately went off to download a digital copy of the magazine they were from (the November 2020 issue of Cross Stitcher, if anyone’s interested) even though I knew there was no way they were happening last year, not with 10 days to go before Christmas.
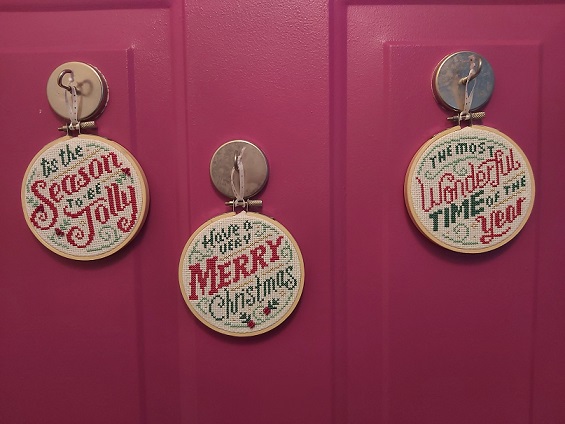
This year, however, I started early to make sure they’d be done. Although I loved the typography, I didn’t love the original colour scheme – the yellow-green looked so wishy-washy – and so I chose my own colours for a bolder, simpler look.

The holly berries were supposed to be red cross-stitches, but I had some beads on hand that worked perfectly. The gold metallic accents were my substitution, too, and worth the frustration of working with metallic thread.

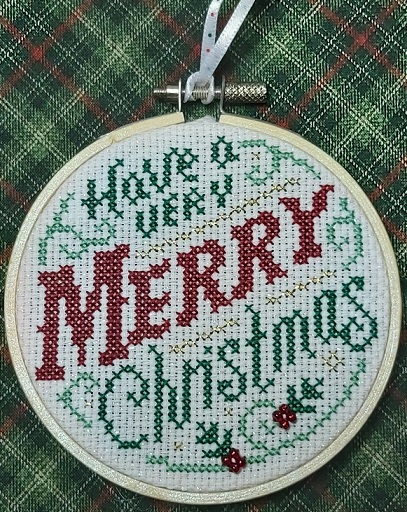

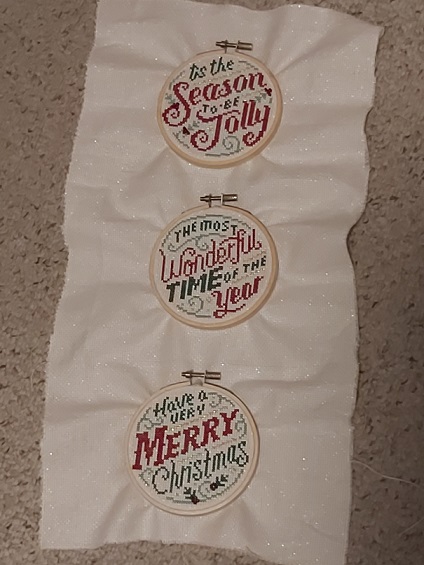
I framed the finished pieces in 4″ wooden hoops that I sprayed with glitter spray paint – it’s not a solid, disco-ball kind of glitter, but adds a bit of shimmer to the plain wood. It also carried the theme of the iridescent fabric, which doesn’t show well in the above pictures. But take a gander at this progress shot:

What a beaut, huh?
My other moment of inspiration in making these: because stitching on pieces of fabric that are too small to fit in a hoop or frame properly is the worst, I cut one large piece and marked off thirds, then centered a design in each third.
My mom laid claim to two of these as soon as they were done, and the third went to a friend. No matter where they hang, though, I hope they spread some holiday cheer.
Thanks for looking! 🙂