This is how I envisioned my self-isolation when authorities everywhere told us to stay home and flatten the curve:

This is what it’s actually been like:

Ha! Just kidding! I’d kill for a paper file right about now. But seriously, I’m working from home, yanked from my extremely paper-based environment and plunked into a paperless wonderland. And I’m not complaining, because hey, I have a job, I and those I care about are healthy, and I’m helping people. But it’s hard not to be a little jealous of those who have all the time in the world to bake and craft and create all day, every day, or who can undertake some great project. Apart from saving the commute, my routine really hasn’t changed. The grass is always greener, right?
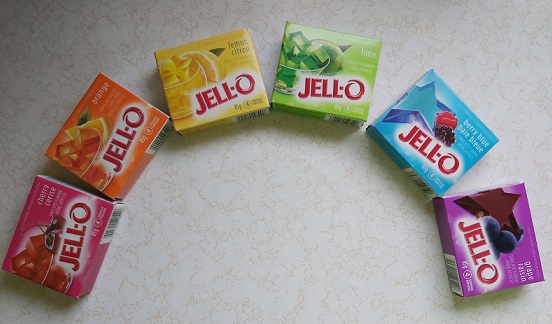
Because my weekdays are filled with PDFs and occasionally wonky network connections, I took the opportunity over the weekend to try something deliciously retro: Ribbon Jell-O. I don’t have deeply-rooted memories of this being made for family dinners (but a classmate’s mom made it once, I think?), so I wasn’t in danger of ruining the nostalgia. Also, it’s a) bright and colourful and b) pretty straight-foward and simple, which was reason enough to give it a try.

(A word to the wise: I was a heck of a lot happier before I started reading nutritional information on things. There’s a whack of sugar in this, so, you know, proceed with caution.)
I’m not going to rewrite the recipe here – the original is quite simple enough to follow – but offer some insight for those who might want to follow in my footsteps.

- Be aware of the capacity of your kitchen implements. The recipe called for “six small bowls” to mix the Jell-O. I used soup bowls, figuring they’d be more than enough – but by the time I added my one and a half cups of water to each flavour, those babies were full. Ditto the “small saucepan” for warming the milk. Luckily, I decided while the milk was still in the carton that a small saucepan couldn’t hold a litre and sized up. Also: some of the comments complained that all the layers wouldn’t fit into a 9″ x 13″ pan as promised, so I bought a deep (3″) disposable one just for this project.

2. One of the comments asked whether it was necessary to grease the pan. The author swore she never did, but I didn’t feel like taking that chance. I gave my shiny new pan a couple of quick spritzes with PAM and spread it around with a small wad of waxed paper. It’s a really easy insurance policy (and I promise it doesn’t make your dessert greasy).

3. The layers take about 45 minutes each to set up, which adds up when you’re adding 11 of them in total. This is actually a great isolation dessert, because really, where are you going to go?
4. Remember the 3″ pan I procured just for this? Holy heck, am I ever glad I had it! That puppy was almost full to the top when I was finished. Oh, and heavy, too! I had decided to store this in the basement fridge for the duration, and had the foresight to realize I didn’t want to have to carry it upstairs each time I wanted to add a new layer. Because there’s no way those soup bowls were going to make it downstairs without spilling, I emptied each one into a 2-cup measuring cup when it was time to add it and took that down instead. (For the white mixture, I measured out my cup-and-a-half in another 2-cup measuring cup.) An added bonus: because my last few colours were gelling even at room temperature, it was easy to pop the measuring cup into the microwave for 20 seconds or so to loosen everything up again.
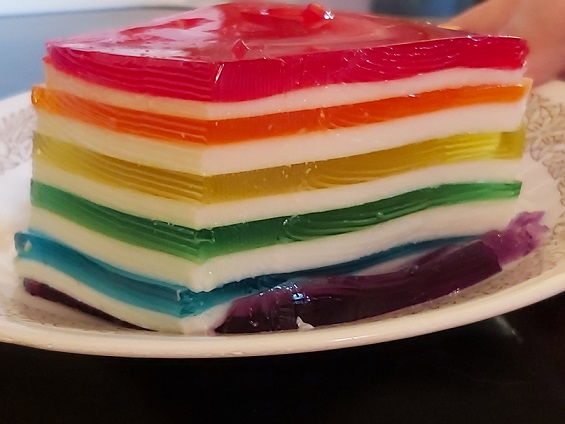
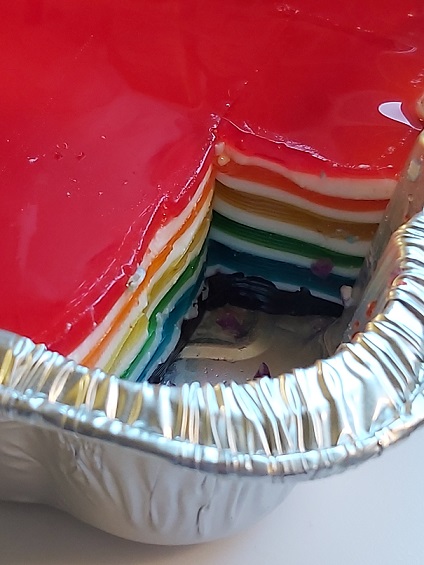
5. I’ve blocked out a lot of high school physics class, but I can tell you that there’s a lot of pressure working on this structure from all sides. The adhesion of the white to the colours isn’t absolute, and in serving, the layers start to slide a bit.

6. It fares slightly better if you lay it on its side, although it will also collapse from this position. If I ever make this again and really want it to stay intact, I’ll do individual parfaits – but as it is now, it’s still delicious and fruity, even when it’s a slippery mess.
Thanks for looking – hope everyone’s staying safe! 🙂