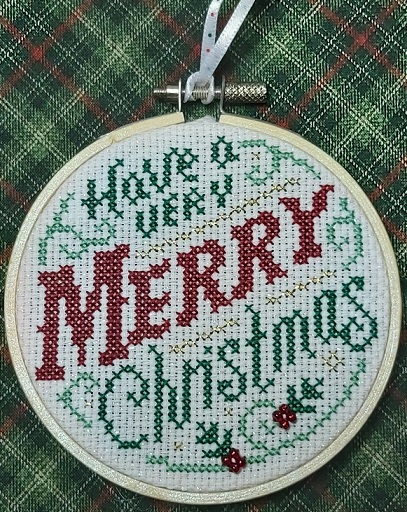
My true love gave to me: a calendar to count down daily!
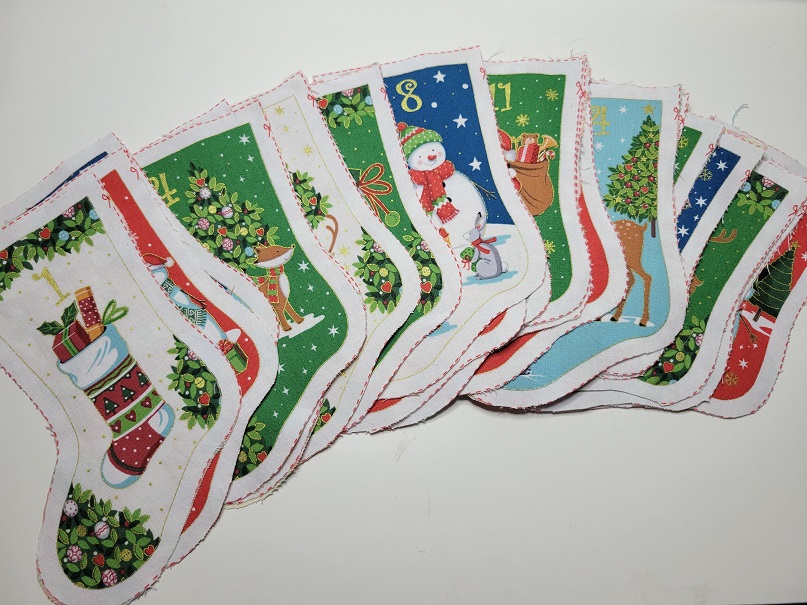
Back in the summer sometime, in the course of scrolling through Etsy, I came across a panel of 24 mini-stockings meant to be made into an advent calendar. Did I need it? No. But also maybe yes. In either case, it was delivered to me in short order. If you’re curious and/or want to try this at home, kids, it’s the “Merry Christmas Mini Stocking Advent” by Makower.
The instructions included were pretty straightforward: lay your stocking panel wrong-sides-together on top of whatever fabric you want for your stocking backs, pin and cut.


Of course, I had help.

Once they were all cut out…
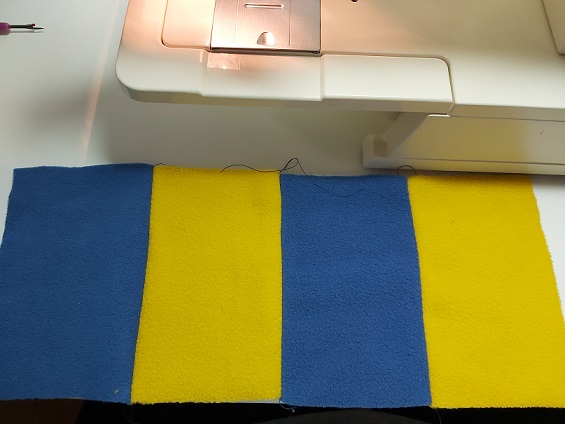
…I could pin each front-back pair and sew them together.

It’s funny how much smaller they are once they’re turned right side out! From here, the instructions cheerfully directed me to press the top edge under 1/4″ and stitch close to the edge, then cut ribbon into 6″ length and fold in half and stitch the ends to the inside edge to create hanging loops. There was no way those tiny little things were going to fit around the needle plate on my machine, and I wasn’t about to hand-sew a hem. Instead, while they were inside out, I pressed that top edge the recommended 1/4″, and then turned them right side out and pressed everything – including the top edge. It still created a neat finish, and I can always sew them later if I change my mind.
Rather than deal with making ribbon loops, I decided to attach them to their display rope (that’s a very technical term) using mini clothespins. Thankfully, both the clothespins and the Command Hooks supported the weight of the chocolates I had tucked inside.


I really like that each stocking’s design is oh-so-slightly different. Even the ones that look the same have small differences!

After the day’s chocolates have been, um, dispensed with, the stocking gets re-attached, toe-up, to keep the wall from looking empty as the 24th draws closer. I’m looking forward to turning this into a yearly tradition, where the only decision is what kind of treats to fill them with.
Thanks for looking! 🙂