Back in what was autumn according to the calendar but undeniably the holiday season (to be fair, this encompasses almost 3/4 of December), I was idly flipping through my mother’s issue of Woman’s Day magazine when I hit a pocket of holiday gingerbread recipes. My first question to myself is always “Can I see myself making that?”, and the answer is usually “Nope.” It saves a lot of time and angst, truly.
When I flipped the page to see a pan of gingerbread rolls staring back at me, something snapped. What a fine thing that would be, to create a warmly-spiced, yeasty breakfast from scratch! I could just about hear the songbirds tweetling (muffled somewhat by their chattering beaks; this may have been a fantasy, but it was still almost-winter) and see my pretty dress flare out around my legs as I spun from the oven to the counter.
And then I remembered that the birds had all flown south, that it was too cold for dresses (also, they’re impractical), and that there was no way this was going to happen before Christmas.
I did, however, have a few days off before New Year’s, and so the great culinary experiment of 2025 came to pass. The behemoth that is Hearst Publications has thoughtfully not provided the recipe on their website for me to link to; suffice it to say it proceeded much like regular cinnamon rolls would, but with a few extra additions.
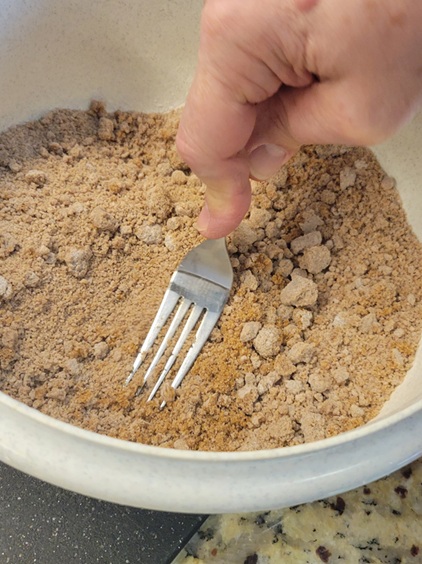
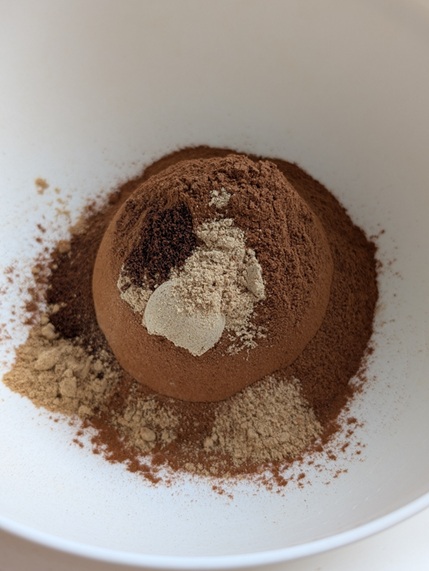
You start with your dry ingredients…
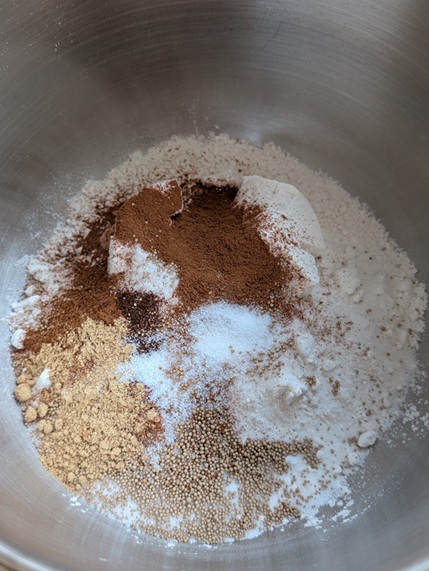
Note the addition of ginger and a little bit of ground cloves to the mix. Also, this might have been my first time not proofing my yeast beforehand, and the whole thing stressed me out.
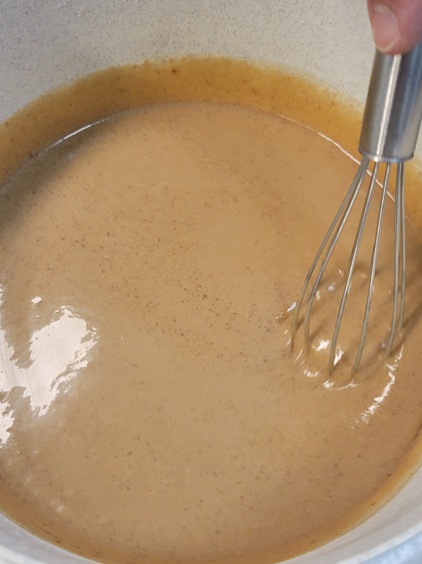
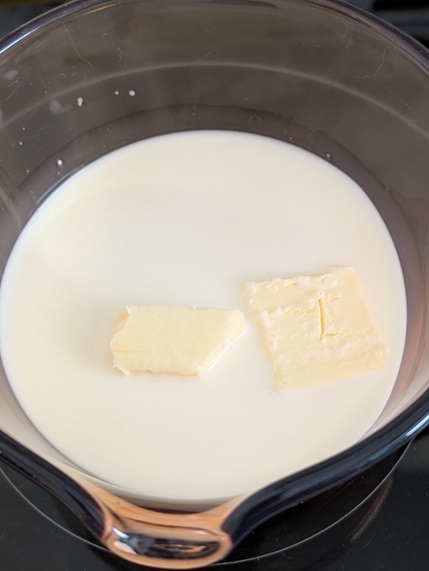
Next up: wet ingredients. Butter in milk, essentially.
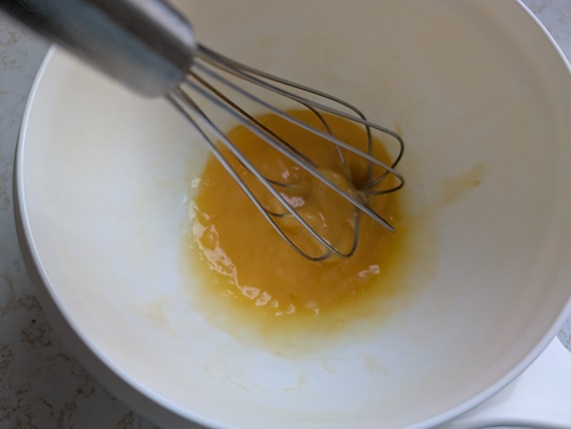
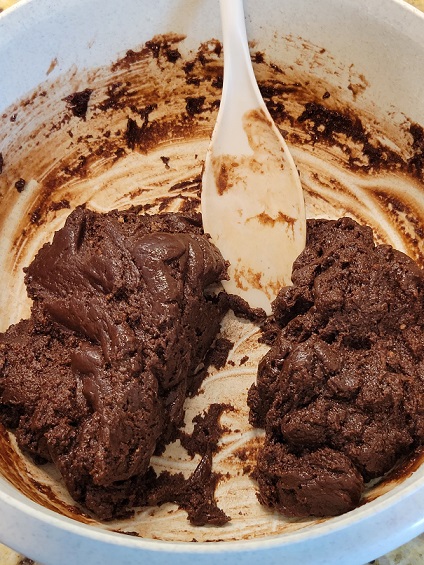
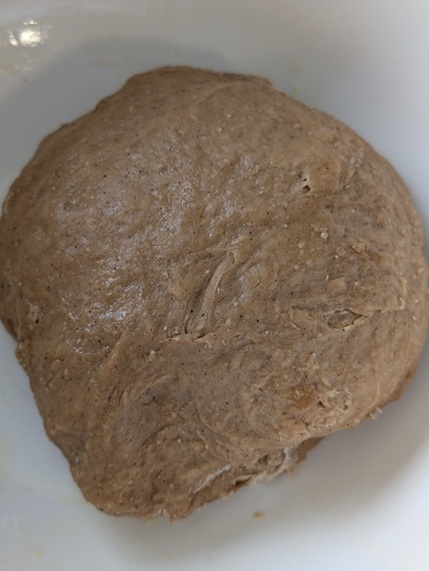
Combine the two and work until your dough is suitably elastic. I added some molasses into the dough mixture to help amp up the whole gingerbread experience.
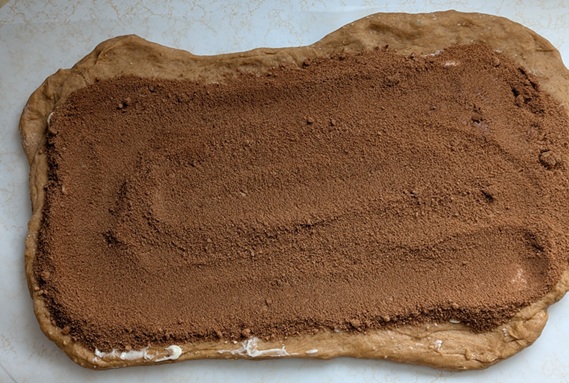
Get your filling ingredients together…
…again with the ginger and ground cloves to help out the cinnamon and brown sugar.
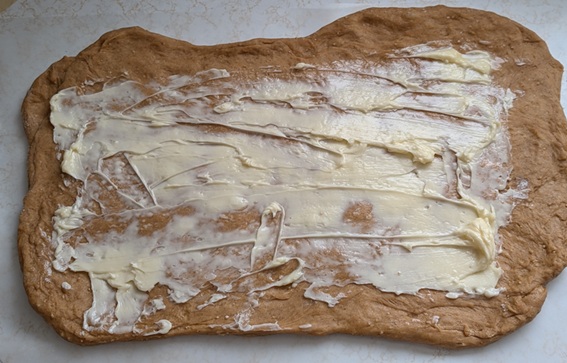
Then quick-quick-quick, stretch your dough out into a rectangle, coat it with butter and your filling, then roll that puppy up.

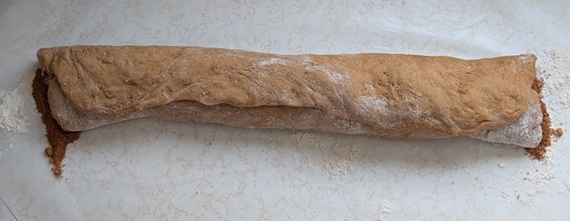
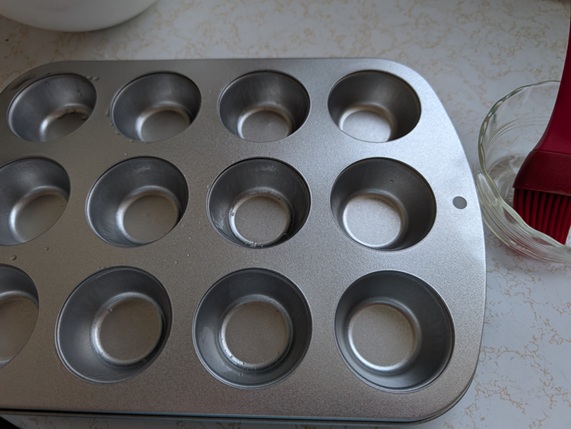
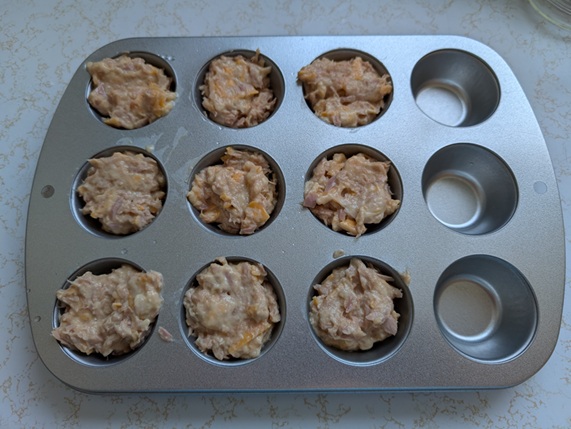
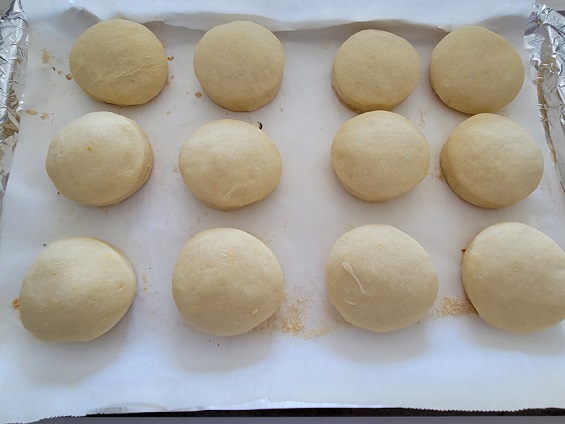
I cut mine into nine pieces because I was using a 20 cm pan, but probably would have done twelve slices for a larger pan.

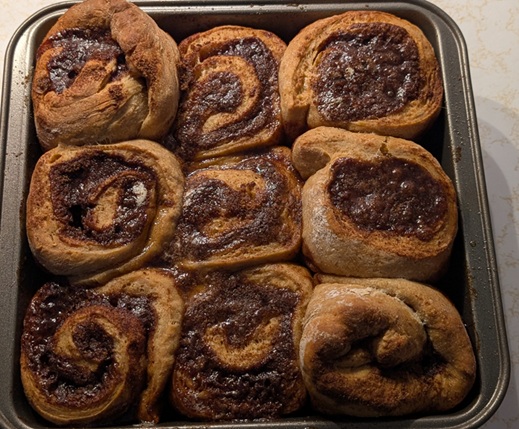
And then…I covered the pan with plastic wrap and stuck it in the fridge overnight. The next morning I pulled it out and let them rise a bit in a very low oven before taking them out to preheat it for baking.
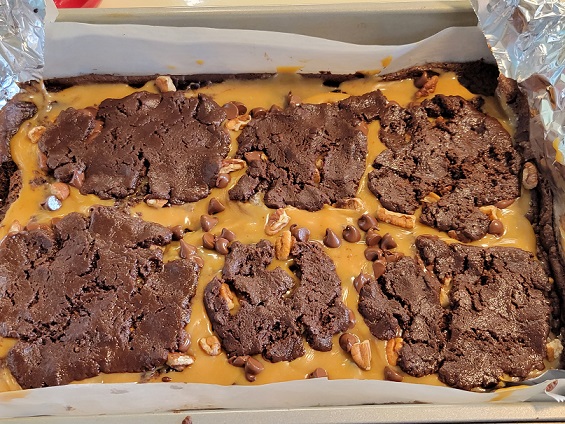
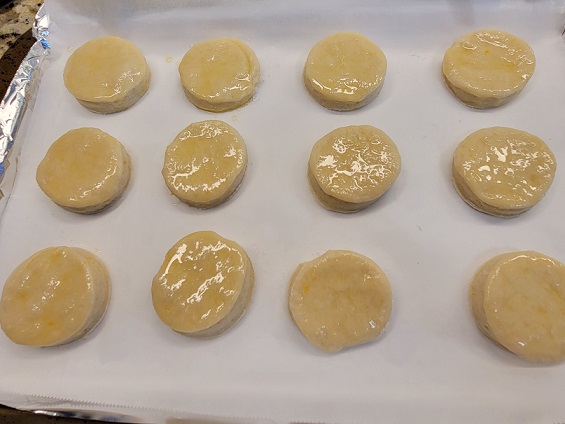
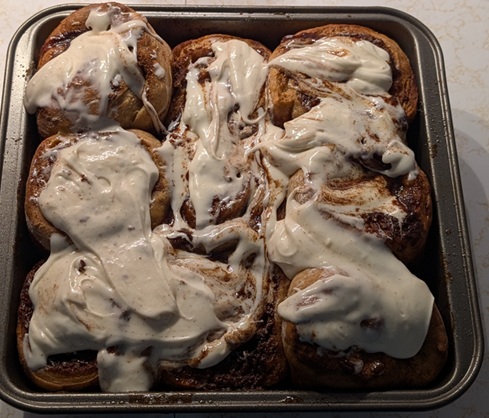
They got a cream cheese icing…
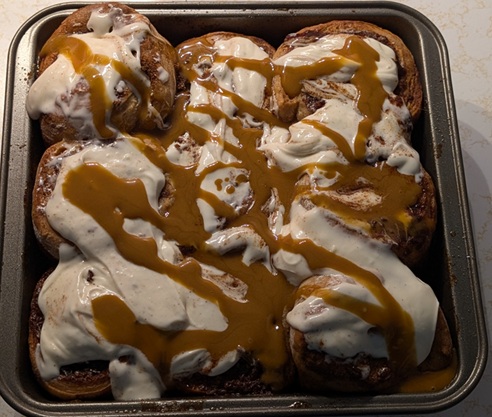
…and a molasses drizzle to finish.
Should I have let them cool a bit more before spreading the icing on? Probably. But also, everyone was beyond hungry at that point and bordering on hangry territory.
They had more kick to them, spice-wise, than I had anticipated, so I was grateful for the cream cheese to temper that a bit. Overall they were…OK. Not inedible or unpleasant, but a good reminder of why I’m happy just getting up and grabbing breakfast rather than making a whole production out of it. But the house smelled wonderful, and that’s something you just don’t get with toast.
Thanks for looking! 🙂